7 more Photos tips for Mac users

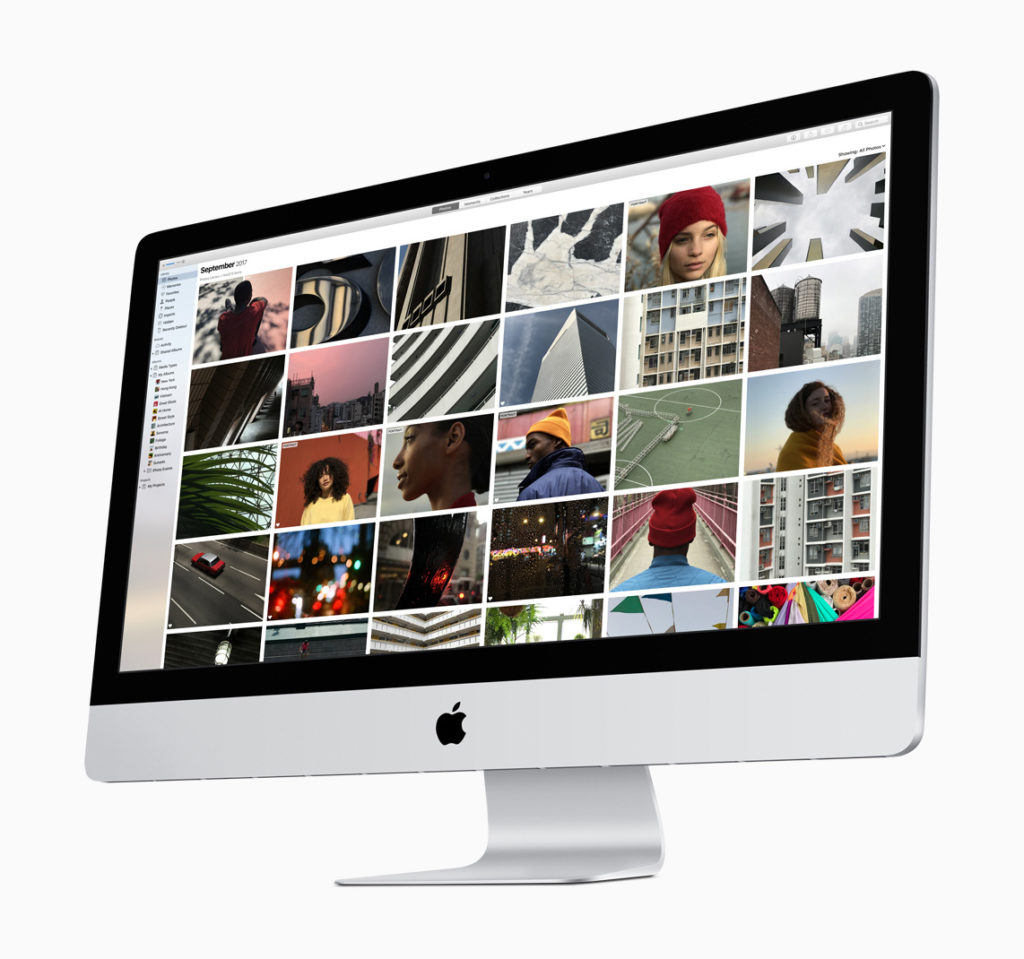
If you use a Mac, you probably own an iPhone and use Photos to edit the images you take. What follows are 7 little Photos tips you to help you get more done faster in the application.
Swipe
When looking at images in full view, had you noticed that you can swipe left or right with two fingers to see the next or a previous image in an album or Memory?
Rotate
You can rotate multiple images at once. Just select them one at a time while pressing Command and then tap the rotate button.

Extensions
You can use third-party apps to augment your tool choices in Photos. When in Edit mode just tap the ellipse (it’s beside the heart) at the top of the window to access your available Extensions. Any third-party app you have installed on your Mac that works will be listed there, and you’ll find a direct link to the App Store to get more. Any extensions the app provides can be used within Photos.
Here’s a great piece of kit for iPhone video makers
Copy
Working on a series of images of the same subject taken at the same time and all with the same flaws you’re fixing using your image adjustment tools? Did you know you can copy the image adjustments you make and paste them into other images?
Here’s how it is done:
Work on the image, make your adjustments, and then (while in Edit mode) Control-Click on the image you’ve worked on and choose Copy Adjustments. Now you can move to one of the other images in your series, control-click it in Edit mode and choose Paste Adjustments. Then you can fine tune the result. Smashing.
[amazon_link asins=’1682032906′ template=’ProductCarousel’ store=’9to5ma-20′ marketplace=’US’ link_id=’48c799a9-ce31-11e8-9a6d-f766b783a6ec’]
Auto
When you want to adjust the Light, Color or Black & White settings in an image, why not tap the Auto button for that setting first? Apple’s Photos AI will try to figure out what it thinks the best result is and deliver it to you – you can then adjust it to your taste. Better yet, once you have done so you can use the Copy tip above to apply the exact same sequence of effects to other images in your series. (And don’t ignore the Options which give you even tighter control).
Make a GIF from a Live Photo
It’s easy to turn your Live Photos into GIFS:
Look for the image in Live Photos.
- Double-click the image and tap Edit in the top right corner, apply whatever filters or effects you need.
- Tap the arrows (just by the film roll) and choose Loop or Bounce
- Tap Done
- Now Control-click on the image to access the Share menu and send it to yourself as an email. It will automatically be converted into a GIF and sent. You can then reuse it like any other GIF
- The image will also automatically be converted into a GIF if you simple drag it to your Desktop from Photos. You can then reuse it like any other GIF.
More tips here.

A to B
That weird little button to the left of the Revert to Original button? It’s useful – tap and hold it to see what the image looked like before you made changes to it, then tap Revert to Original if it’s, you know, better than what you’ve achieved. (Or tap M while in edit view).
Shortcuts
Photos is full of keyboard and gesture shortcuts.
- Control 1-6: View photos, memories, favourites, people, places and imports (in that order)
- Command 1-4to cycle through different collections, works slightly differently in Photos than Memories views.
- Option-S: Quick way to reach your thumbnails
- Command-E: Enhance and image
You’ll find lots more in Photos>Help>Keyboard Shortcuts
I’ve got more Photos tips, here’s a few:


