14+ essential skills AirPod Pro owners need to use (updated)

Get to use your new toys
Millions of people will be using their new AirPods Pro by now, and probably need to take a moment to learn a little about what they do. We’re going to look at how to find them, how to move into Transparency Mode, Siri, Live Listen, sharing audio and a little more.
Find your AirPods
Apple combined Find My Friends and Find My iPhone into its Find My app, and also made it possible to find lost AirPods using the app. It’s easy to use:
- Open the Find My app.
- Tap Devices.
- Choose your AirPods.
You’ll be shown where they were last seen on your Map. You can also cause the AirPods to emit a loud noise to help you find them where you dropped them in among the bedclothes, in the field, or wherever.

Transparency Mode and noise cancellation
The new AirPods Pro offer both effective noise cancellation and a transparency mode (which lets selected sounds – such as the conversation you’re TRYING TO HAVE WITHOuT SHOUTING pass through). There are two useful ways to get to this mode:
#1: On the bud: Long squeeze on your earbud until you hear a ding and a soft click. This switches between noise cancellation and Transparency mode, while single, double, and triple squeezes control audio.
#2: Control Center: While using the AirPods Pro, open Control Center on your iPhone and long press the volume slider. You’ll see three choices: Noise Cancellation, Off, Transparency. Just select which one to use.
NB: Off turns your AirPod Pros into normal headphones with both noise cancellation and transparency, erm, off.
NB2: Please use transparency mode when walking down the street, as noise cancellation on AirPods is so great you may not hear that oncoming vehicle until it is too late.
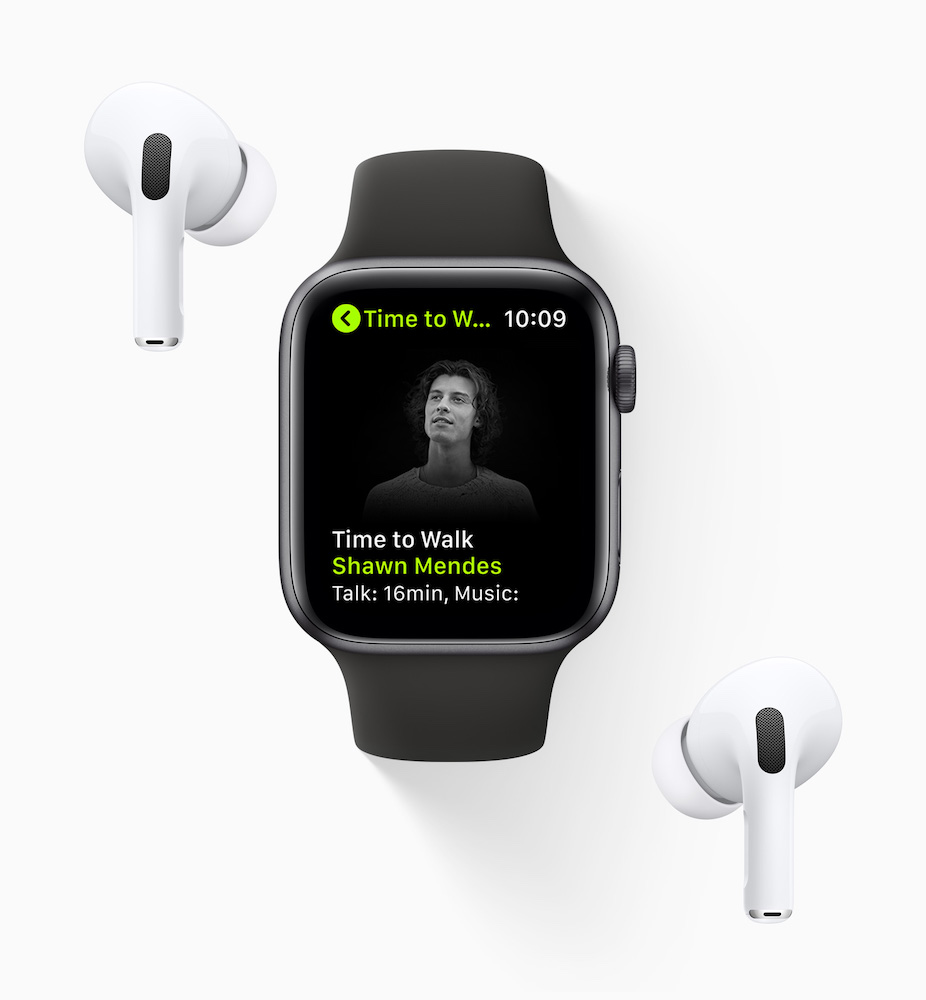
How to use an Apple Watch to switch modes
If you wear an Apple Watch you can switch between noise cancellation and transparency modes.
- Open the Now Playing app
- Tap the AirPlay icon
- Now you can switch between off, transparency and noise cancellation.
What is Ear Tip Test and how to use it?
Apple has created software to help you choose the right tips for your headphones. You’ll find three different tips in the box. When you fit a new set and you want to test them just do it this way:
- Put your AirPod Pros into your ears.
- On your iPhone open Settings>Bluetooth and tap the ‘I’ which you will see beside the AirPods Pro item.
- In the next screen, tap Ear Tip Fit Test.
- Then tap Continue.
- At the end of the test you’ll be told if the tips are a good fit for your ears.

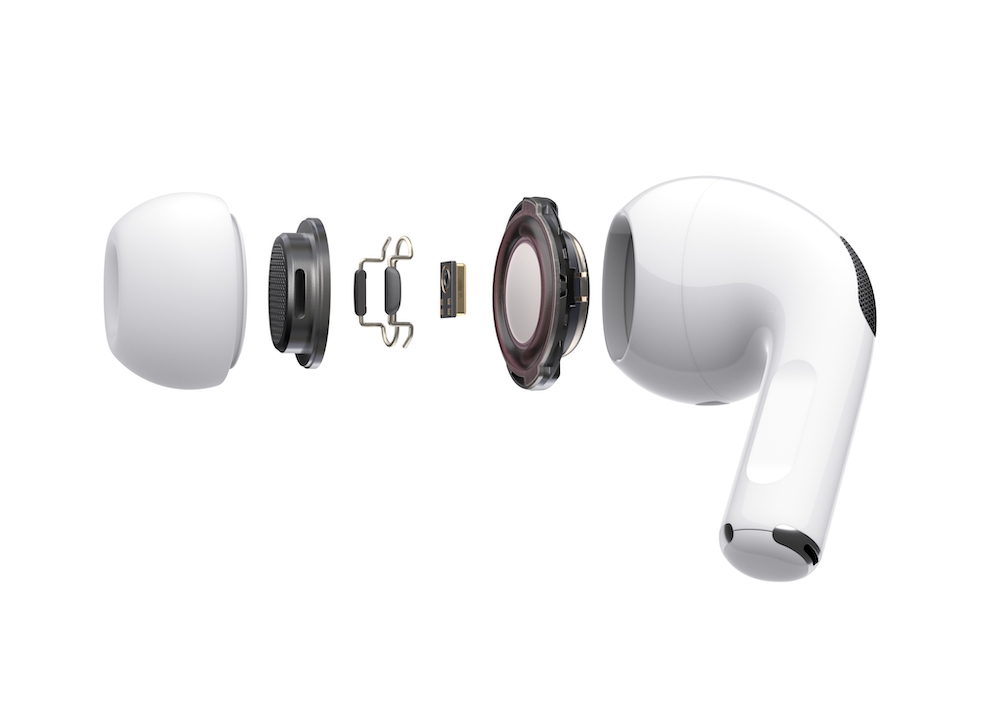
Also read: Take a look inside Apple’s AirPod Pros
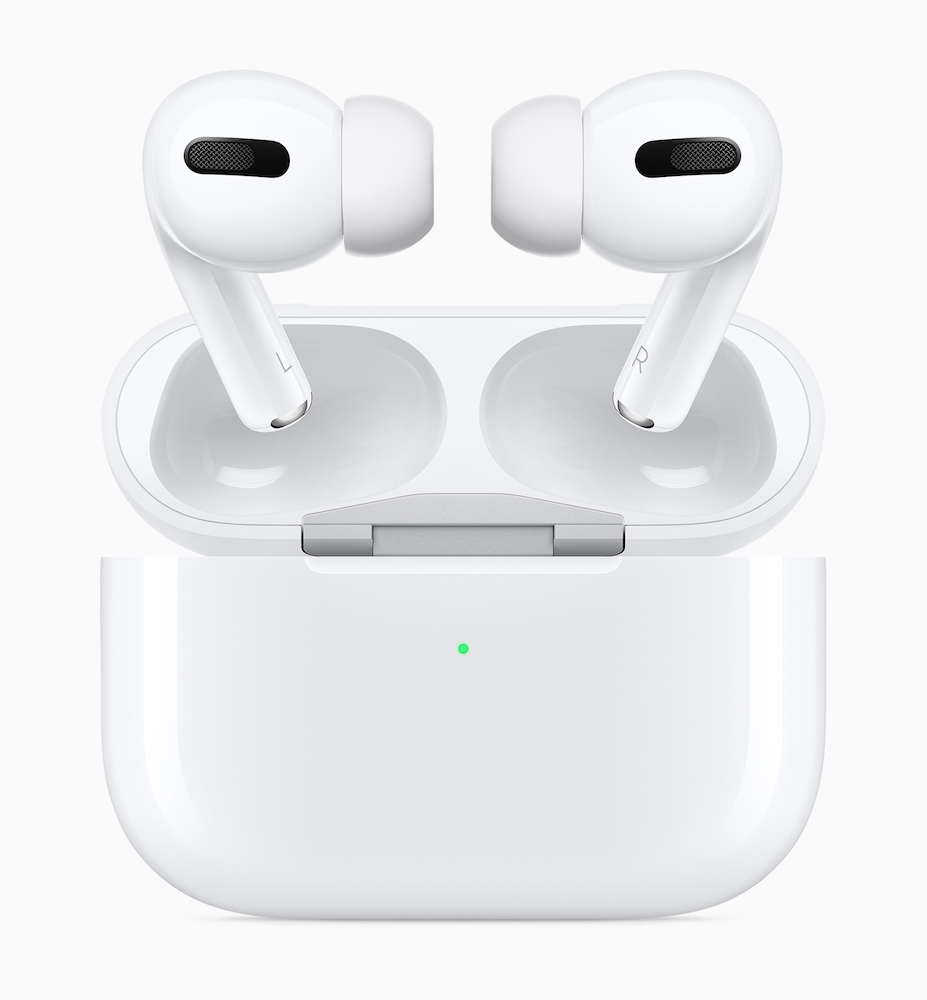
What do the lights in your AirPods case mean
You charge your AirPods by popping them inside your case. When you open that case an LED light will tell you what battery life you have left:
- No light: Recharge your AirPods.
- Amber light with AirPods in case: AirPods are charging.
- Amber light when AirPods not in the case: You need to recharge your case. (A green light means there’s more than one full recharge remaining in the case).
- White flashing light: AirPods reset. Ready to connect.
- Amber flashing light: Pairing error, your need to reset the AirPods.
- You can also check battery life in the Batteries section on the iPhone’s widgets screen or using the Control Center on Apple Watch.
Charge your case
The AirPods case is also a small portable battery for your AirPod Pros. As every user knows we just need to pop the ‘Pods inside to charge them up. The case can be charged using the same cable as your iPhone, but also charges wirelessly on any wireless charging unit that also supports your iPhone.
- Pop the case face up on the wireless charging device.
- The light should come on — amber, green or a fault warning, as described above.
- If the light is green then your AirPod case is fully charged, otherwise leave it on charge.
- To check the status of the case, tap it and the light should illuminate.
- When it’s green, it is fully charged.
How to control AirPods
Apple calls AirPods Pro controls ‘Force Sensor’. Basically it’s about pressing the flat indented section on either AirPod that faces your face – you should hear a click for each press.
- One press: Play/Pause music.
- Double press: Skip forward.
- Triple press: Skip backward.
- Press and hold: Switch between noise cancellation and transparency modes.
- Say “Hey Siri” to activate Siri and do things like request music, make a call or ask for directions.

How to change behaviour
Once you’ve paired your AirPods Pro with your iPhone you can change the way they respond to squeeze gestures as follows. You can customise commands in Settings>Bluetooth, tap the i.
- Open Settings on the iPhone and choose Bluetooth
- Find the AirPods Pro and tap the small ‘I’ icon
- Choose the Left or Right AirPods Pro to select the one whose behaviour you wish to change.
- Choose Noise Control or Siri at the top of the screen. If you choose Siri then squeezing that earbud will invoke Siri.
- If you don’t choose Siri you’ll be able to define how your AirPods Pro respond to the squeeze gesture by selecting (ticking) any of the three available Noise Controls.
- Press and hold the stem to cycle between the selected modes.
- Quit the Settings app when the process is complete.
You can choose which AirPods Pro works as a microphone
You can also set which earbud works as a microphone in Settings. Find your AirPods Pro and choose ‘Microphone’. You will then be able to set which earbud works as a microphone, or choose Automatically Switch AirPods if this works for you.
You can choose how long and fast you need to squeeze
You can customize how quickly your AirPods Pro respond to being squeeze. There are three options: Default, Short or Shorter and you choose these in Settings>Accessibility>AirPods. You can also choose how quickly AirPods Pro recognize multiple presses here, this time opting for Default, Slow or Slowest.
How to use Live Listen
The Live Listen feature lets you use the microphone in your iPhone to listen to sounds via your AirPod Pros. This is very useful if you are hard of hearing, but Apple advises you not to rely on it if you have such a problem – you should get your ears checked out.
To use the feature, open Settings>Control Center>Customize Controls and add the Hearing item.
Now when you open Control Center you will see your AirPods listed there, tap them and you will be able to start hearing what’s happening around you using the iPhone microphone. It’s all rather James Bond, really…
How to share audio
iOS 13 Audio Sharing lets you share sounds from your device with two sets of AirPods (Pro). To use it, open Control Center, then the Now Playing section and then tap on the AirPlay button. So long as both AirPods are close to the device you should see them listed there, select them both to share the audio.
How to use Spatial Audio
If you use iOS 14 or later on your iPhone you gain access to a feature called Spatial Audio (once your iPhone updates your AirPods, as it should). This is great when you are wearing your AirPods to watch video as it will play audio in surround sound, moving around as events take place on screen or as you move around your room.
- Open Settings>Bluetooth
- Tap the ‘I’ beside your AirPods Pro
- Now slide the switch next to Spatial Audio to ON.
- You can listen a demo of this here when you select See & Hear How It Works.
Great when using an Apple TV.
How to make Siri announce messages
As you receive new Messages you can get Siri to announce them to you in your AirPods.
- Open Settings>Notifications, then tap Announce Messages with Siri and turn the feature on.
- You can also choose which contacts Siri reads messages from: Favorites, Recents, Contacts, or Everyone. I tend to use this for Favorites.
- You can also reply – say something like “Reply, I’m on the way”.
Everything about AirPods here.
Please follow me on Twitter, or join me in the AppleHolic’s bar & grill and Apple Discussions groups on MeWe.


