How do I use Continuity Camera?

How to use Continuity Camera to import scans and pictures
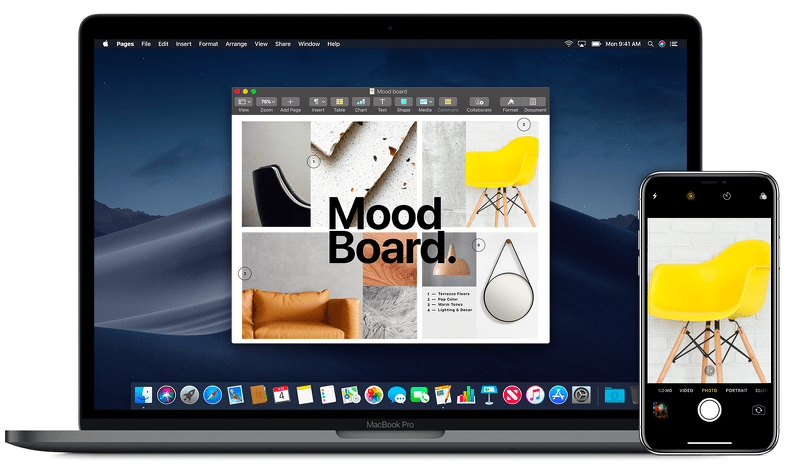
Continuity Camera is a cool feature that lets you use your iPad or iPhone to scan documents and images to paste directly into projects you are working with on your Mac. It’s quick, simple, and (so long as both devices are on the same network) effective.
What is Continuity Camera?
Introduced with iOS 12 and macOS 10.14 Mojave, Continuity Camera is just another logical step forward for Apple in its continued attempt to build a switched-on platform that helps people get the things they want to get done done.
The theory is solid: Working on a document and need an image? Tap a couple of buttons on your Mac and grab that image with the camera in your iPhone. It’s also a fab way to scan receipts, bills and other important documents when you need to send your expenses claims to head office (if that’s your life).
It’s a really useful time-saving utility, and it’s easier to use than a semi-colon.

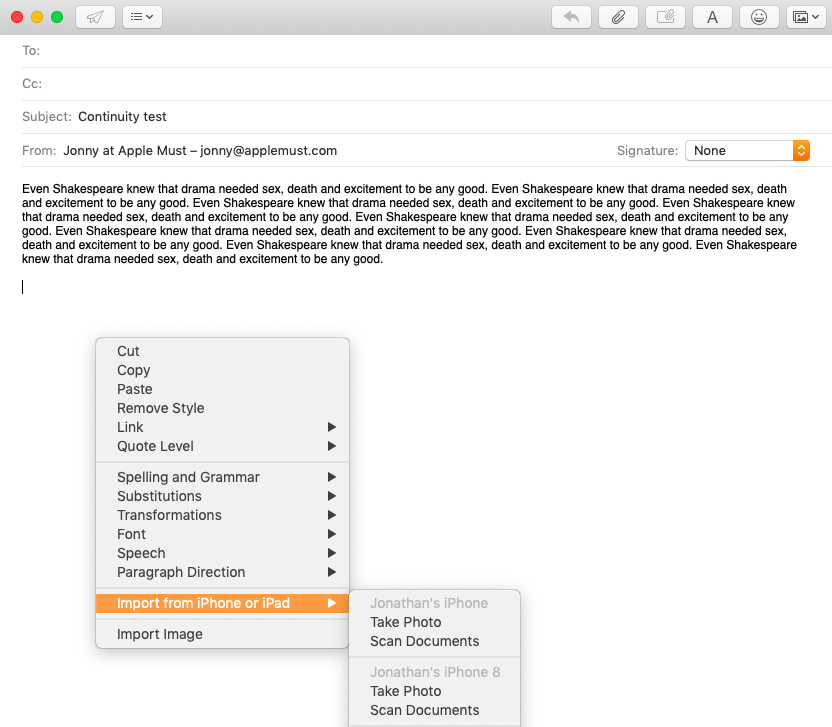
Right-click and you’ll see the image acquisition tools appear like this.
Where can I use Continuity Camera?
You can use Continuity Camera to fetch an image into a document, including imaging assets and charts. You can also use it to directly fetch a scanned item to your Mac’s Desktop, which you can then archive somewhere. It works with most Apple apps and an increasing number of third-party apps (Word, I’m waiting for you…)
How do I use Continuity Camera?
To get a photo, you’ll want to follow these steps:
- Open the app you want to import a photo into and then open the document in which you want that imported image placed.
- If you want to import to your Desktop, just tap the Desktop to make it the active window.
- Right-click on the location you want the imported image to show – inside the document, say, or the Desktop.
- You’ll see an item called Import from iPhone or iPad appear in the contextual menu. Select this and you’ll be asked which of your iOS devices you want to use, and if you want to take a photo or scan a document.
- Now grab your iOS device and take the photo/scan
- A new dialog will appear where you can select Use Photo
[amazon_link asins=’B001QOL22Y’ template=’ProductCarousel’ store=’9to5ma-20′ marketplace=’US’ link_id=’a591394d-c59f-11e8-b83d-114cfcf44197′]
To get a scan, follow these steps
To get a scan you’ll follow the same steps as getting a photo, but once you reach step 5 you will need to get the document into the frame correctly so that the borders appear in yellow. The scan will then take place automatically – tap Save and the process is complete.
It really is easier than the correct use of a semi-colon.


