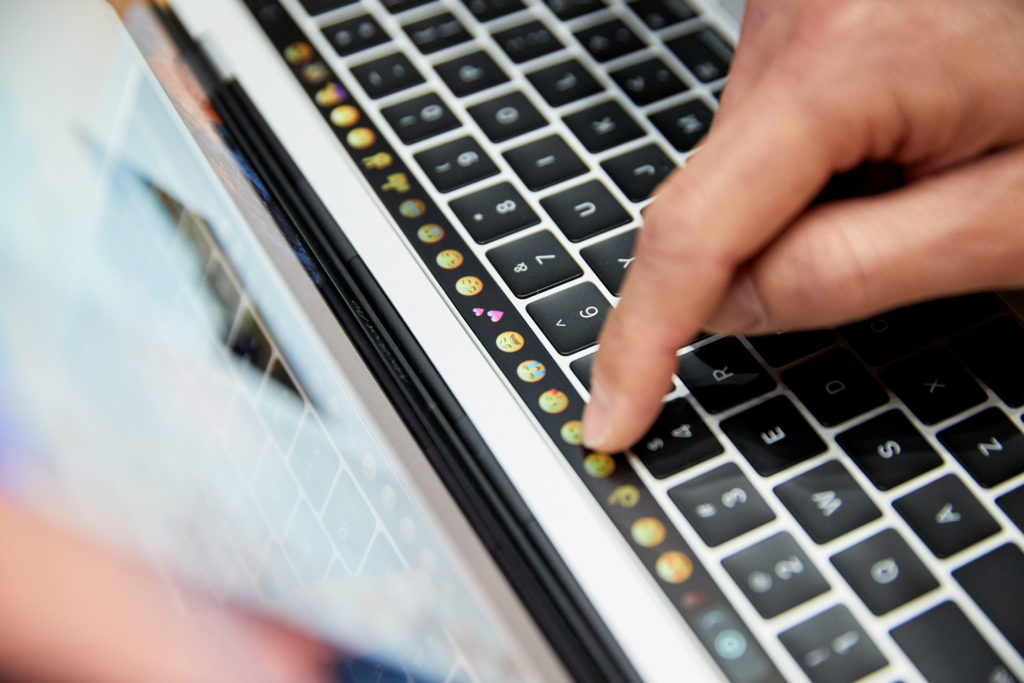
How to Customize the MacBook Pro Touch Bar for your apps

I think most Mac users will grow to really like the Touch Bar. I don’t mean some geeked-out, OTT, tech love thing, I mean they will feel like it’s something they never lived without.
I’ve been using it for about a week, and think that once you get over the initial interest you will discover it as a subtle but useful enhancement to your productivity and workflow. Some apps (Photos, Movies) feel like they were born with it. It’s subtle.
It’s all about the little things.
For example, when using the Touch Bar to raise volume or display brightness just tap the relevant control to invoke it and begin dragging down (left) or up (right), the control will immediately become a slider — you do not need to tap it and wait for the slider to appear. I thought it might be useful to explain how to customise Touch Bar for your needs.
How to Customize Touch Bar for your Apps
You can customise the Touch Bar for each app that supports the feature.
Doing so is very simple. When in an app you want to customise, navigate up to the Manu bar and choose the View Menu item. In the drop down list that appears you should see an option to Customise Touch Bar.
If this option is not available it means the app you are using has not been updated for the feature just yet. (It can also mean the app you want to edit keeps these options somewhere else, such as the apps own Preferences).
Try customising your Safari Touch Bar settings, as the Apple browser does support it.
When you select Customize Touch Bar in Safari you will see a collection of all the available options appear in a list at the lower half of the screen, just like the image above.
Adding new items to your Touch Bar is quite cool — just grab the one you want to add and drag it down toward the Touch Bar using your cursor. It will then jump onto your Touch Bar and be available to you when you use the app. The existing controls will wobble slightly to show they can be edited at that time.
While not every app works with Touch Bar just yet developers (including Apple) are working to enable this in most of the key apps you rely on.
How to Customize Touch Bar System
You can also customize Touch Bar on your Mac in System Preferences>Keyboard.
Inside the Keyboard pane you can choose what the Touch Bar shows and the behavior of the Fn key:
Touch Bar can show:
- App Controls with Control Strip, this mode leaves System controls on either side of the app controls
- Expanded Control Strip, which includes media, Siri, brightness and Mission Control keys, and others. (You can access this by tapping the left pointing arrow to the left of the four buttons at the right of the strip in other modes).
- App Controls, which only shows the controls for the app you are in.
All three modes also feature the Esc key.
The Fn key can Show the usual Function keys, or can be set to show the Expanded Control Strip.

You can also customise the system settings made available in Touch Bar from System Settings, just tap ‘Customize Control Strip’ to access these options. To add one to your Touch Bar just drag them down the screen, just as you do when changing the options it offers individual apps. What’s great about this, in the system and in the apps, is how Touch Bar can make it ever so much easier to reach the commands and functions you want to use.
Also read: 6 MacBook Pro Touch Bar Tips
Follow me on Twitter and I’ll let you know when I publish my review of Apple’s new Mac.


