How to drop a pin on Google and Apple Maps

Everything you need to learn to drop a pin on both mapping services on iPhone, iPad and Mac.
Google Maps or Apple Maps?
Perhaps this matters less these days as both services have improved a lot since Apple Maps first appeared, but for many users dropping and using dropped pins remains a challenge. How to do this properly is what you’ll learn here.
Why drop a pin?
On both Google and Apple Maps, if used correctly a dropped pin can make a big difference to what the services offer you. Once a pin is dropped you can navigate to it, including by bicycle or public transport; you can share that location easily with friends.
Apple Maps also lets you add pinned places to Favorites, save them to guides, and add them to contact records. Pins introduce a layer of personalization to Maps.
On Google Maps, you can share locations, send them, label them and gather them together into collections which will be made available across all your devices one you login to Google services.
Pins are also useful if you want to plan complex multi-step journeys.
How to drop a pin on Apple Maps on iOS
It’s not terribly difficult to drop pins on Apple Maps, but it may be useful to reprise how it is done:
- Open Apple Maps
- Search for an address or scroll the map until you find the place in which you wish to place your pin.
- Tap and hold the map until the pin appears.
- You’ll see an item called ‘Marked Location’ appear below. This will offer Directions to that place, Look Around if available and a button marked Edit Location.

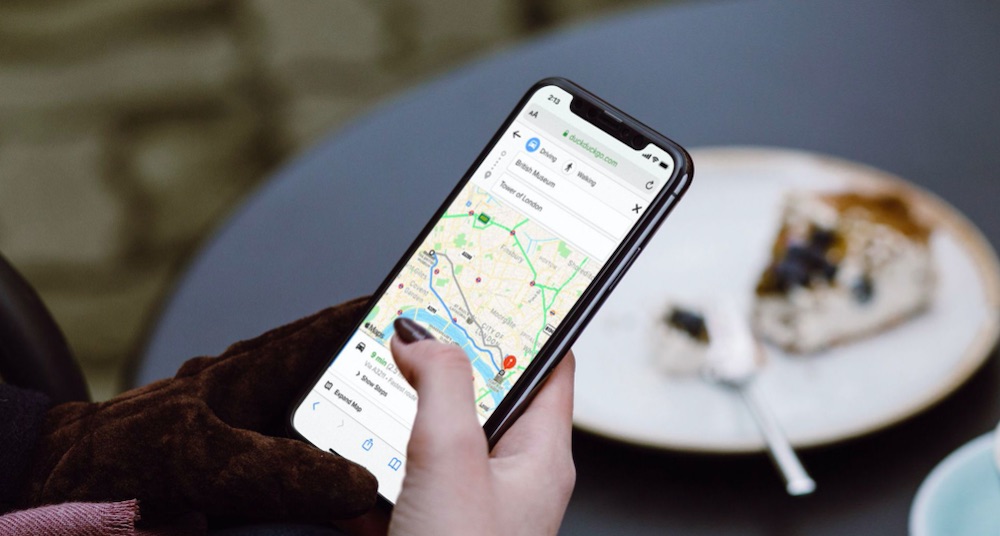
You can also get private routes guides from DuckDuckGo using Apple Maps.
- If you tap Edit Location a new satellite view appears. You can now move the map underneath the pin to get it to the precisely correct spot.
- When complete, tap Done, or tap Remove Marker to remove your new pin.
- Pins can be named, saved to favorites or assigned to Guides which can be shared.
You can also set pins quickly from the Home screen. On an iPhone just touch and hold the Maps icon on the Home Screen, then select Mark My Location to drop a pin precisely where you are. You can also send and search for locations here.
[Also read: How to measure the distance between places on Apple Maps]
To delete a pin, tap the market, scroll down and tap Remove Pin.
How to drop a pin on Google Maps on iOS
The process to drop a pin on Google Maps is very similar, though there are some small exceptions.
- Open Google Maps
- Search for an address or scroll the map until you find the place in which you wish to place your pin.
- Long press the screen to set a pin in that location.
- You’ll see the address and other details appear in a new pane at the bottom of the screen.
- Tap the pin to get to more details, to add labels and make changes to the pin.
How to drop a pin on Apple Maps on Mac
- With Maps open on your Mac, Control-click a location and select Drop Pin. You can only have one dropped pin on your Map at one time (more on this later).
- Apple will place the pin on the Map. If you aren’t happy with its position you must select it and then choose Edit Location.
- If you tap Edit Location a new satellite view appears. You can now move the map underneath the pin to get it to the precisely correct spot.
- You’ll then need to drop the pin again in a more accurately chosen place on your Map.
- Click the pin to access further information about it. You’ll see the … item to the top right, but you’ll find a Favorites button, precise location and directions, Look Around imagery if available, and a … item at the top right to take you to further options.
- You can also use the Share pane to share the location with others and use the Add to Favorites control to save the pinned location. If you save a pin as a Favorite it will appear across all your devices.
- To remove a pin tap to select it and then choose Remove Pin.
How to drop a pin on Google Maps on Mac
The process is similar on Google Maps on the Mac via a browser (or on any other desktop platform).
- Open Google Maps and find the place where you want to drop your pin.
- Alt-click on the spot where you want to place your pin.
- A small grey pin icon appears on the Map. You will also see an information box appear at the bottom of the screen.
- Click the information box and a new panel should appear on the left of your display from which you can add a label, save, get directions and share your shiny new pin.
I do hope this helps you tweak a little more out of using pins on your Mac, iPad or iPhone in both of the most popular online mapping services. Now take a look at How to use the Incident Reporting tool in Apple Maps.
Please follow me on Twitter, or join me in the AppleHolic’s bar & grill and Apple Discussions groups on MeWe.


