How to get your Mac ready for macOS Big Sur
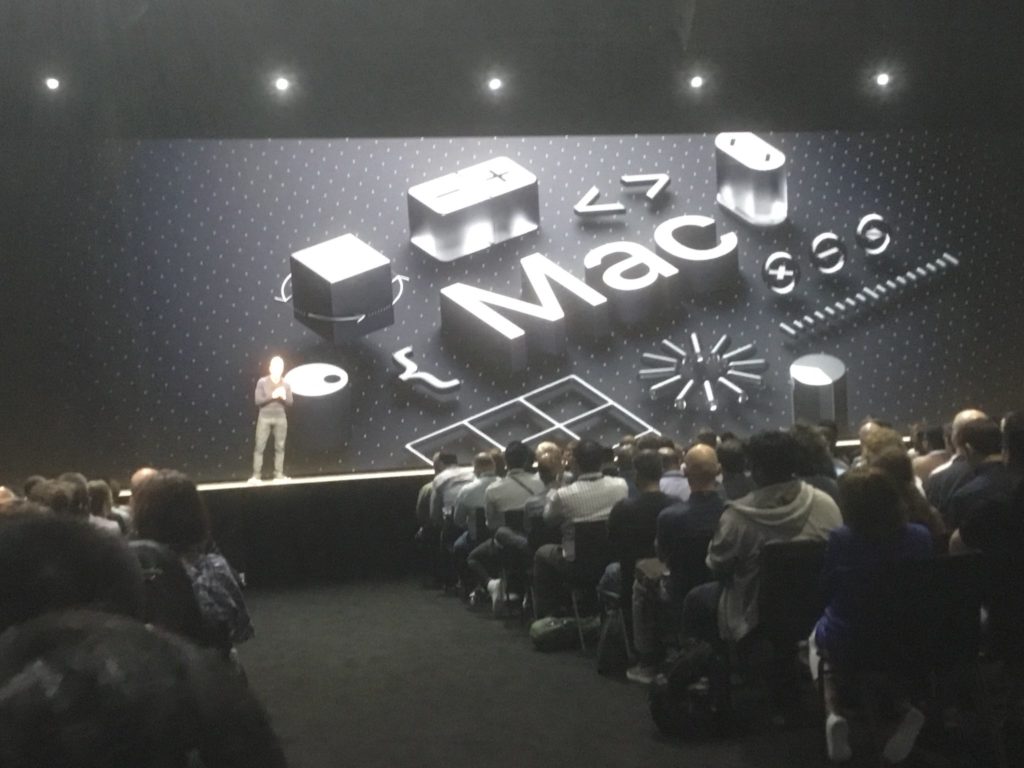
Tim Cook talked Mac at WWDC
Apple is preparing to release the latest version of macOS, Big Sur. The release introduces a range of new features, and while we can’t be certain precisely when it will ship we can be reasonably certain we won’t be waiting too long. And think it reasonable to predict a subsequent software update just before it ships its first Apple Silicon Macs.
So, now is a really good time to prepare your Mac for the upgrade, even if you are running the public beta.
What is the public beta?
Apple’s public beta is a way everyone can work with its new OS before it is feature-perfect. There are risks – it is beta software and may be inconsistent, some apps may not work and more. Apple will ship regular updates to the beta software once it is installed.
If you are already part of Apple’s public beta testing program you can skip this step. Otherwise, visit this page and tap the big blue sign up button at the bottom of the page. You’ll be asked to sign-in with your Apple ID and asked to agree to Apple’s terms and conditions for being part of the scheme.
You will be able to upgrade to the final version of macOS when it ships, all the same, because it is beta software you’re really better off not installing it on your primary Mac, or you should use one of the alternative approaches below.
Step one: Is my Mac compatible with Big Sur?
At time of writing the following Macs are compatible:
- MacBook (Early 2015 or later)
- MacBook Air (2013 or later)
- MacBook Pro (Late 2013 or later)
- Mac mini (Late 2014 or later)
- iMac (2014 or later)
- iMac Pro (All models)
- Mac Pro (2013 or later)
If the Mac you want to use is on this list, then move on to step two.
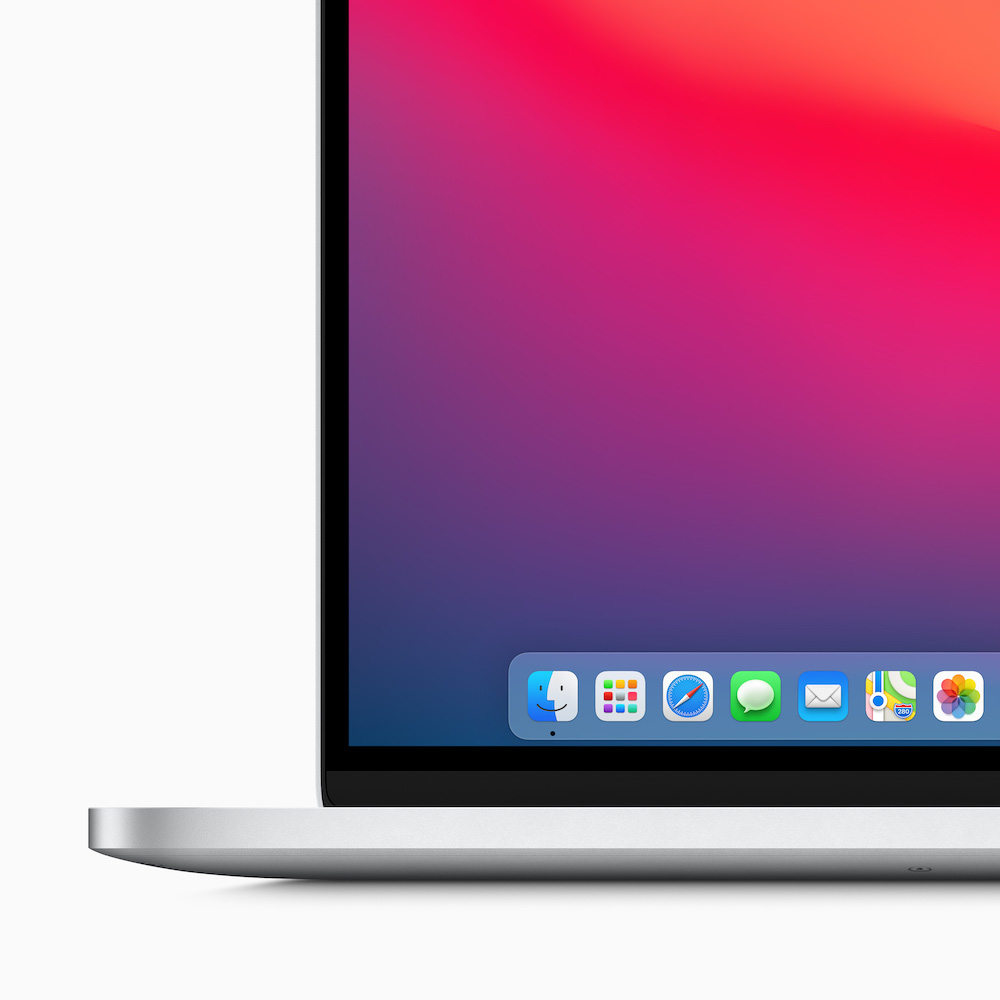
New Dock icons are more than you think
Step two: Update your apps
Before you move to upgrade it’s a good idea to update the apps you use. Developers frequently tweak apps pre-release to make them more stable once you do upgrade, and then update them subsequent to the release if required.
You should also audit your most essential apps: Check with developers to ensure they intend upgrading their software to support the new OS. If the developer of an essential work-related app does not plan to do so, you need to know this before upgrading the OS. It’s often a good idea to wait a little while if upgrading a mission-critical Mac — many wait for the subsequent .1 upgrade before doing so.
This is also a great time to delete things — tap About this Mac and choose the Storage button that appears. Tap Manage and go through your system to delete items and apps you no longer need. Space is always useful when you upgrade.
Step three: Back Up your Mac
If you intend to use your primary Mac to run the new operating system then you absolutely must back it up before you install the software.
Even if you use a secondary Mac, you should still take a moment to back the system up. Things happen. Unrecognised snags emerge even after extensive beta testing. Software isn’t perfect. Your data matters, so look after it.
Step four: Wait a bit
When Apple ships the OS it is very possible that tens of thousands of Mac users will all want to download the software at the same time. Historically, this sometimes leads to slow downloads (though this is getting better). To avoid staring at an achingly slow progress bar, why not wait until the following day when demand should have reduced and the first selection of newly identified bugs may already be found?
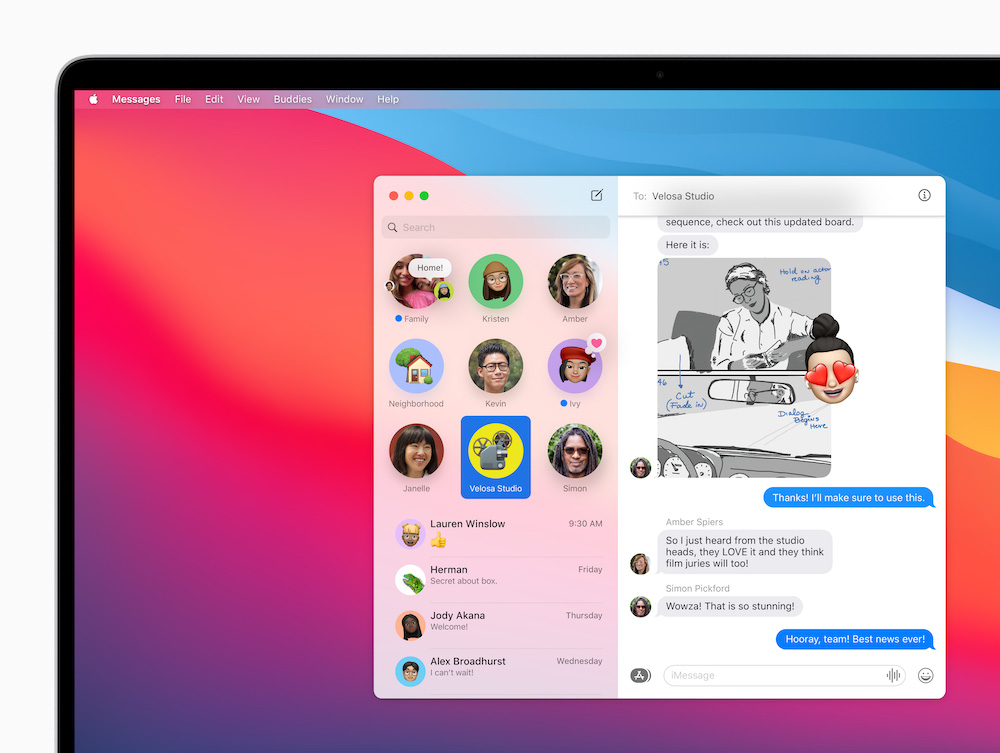
Mac benefits from a whole selection of nice Messages improvements
Step five: Download and install
Go to the Mac App Store and check the Updates section. You should see the new OS made available as a software update there. Download it and follow the installation instructions.
You can also use the download to create a bootable installer drive if you want to install it on multiple Macs. (The easiest way I know to do this is to use this handy utility).
Another way to safely install Big Sur on your Mac
There are two clever ways to reduce the risk of upgrading your Mac, one is to create a new volume in which to run Mojave while leaving your normal OS alone; another is to create a virtual machine using Parallels.
Install it on a separate APFS volume
This will only work if you are running a High Sierra Mac that’s equipped with flash storage, otherwise you should follow these instructions.
- Back up your Mac and open Disk Utility
- Select an existing APFS volume in the sidebar and tap the +Volume button in the toolbar
- Name the new volume and choose APFS format
- Click Add
When you download and subsequently install the public beta you will be asked where you would like to install the software. Just click ‘Show all disks’, select your new APFS volume and install the beta there. When you start up you can choose which volume to launch – your old system, or this new one.
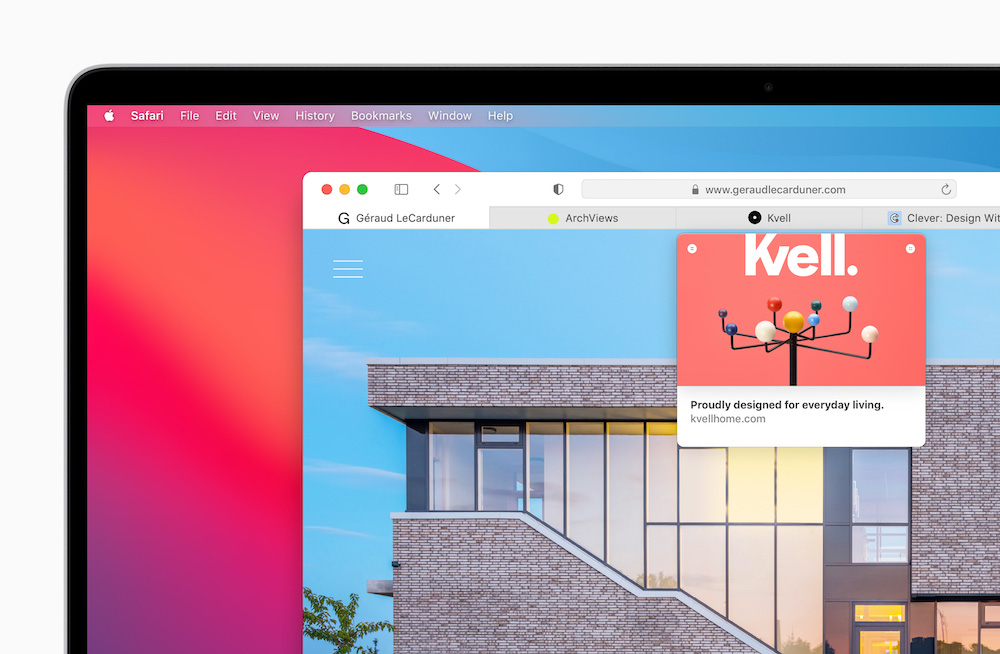
Another new feature means if you hover your cursor above a tab you’ll see a small preview of the page.
One more thing
There are two ways to install the OS: a clean install or carrying over existing settings. The first is quite a good way to zap any software-related problems and prevent them carrying across to the new OS, and it’s a lot easier to do now we use so many cloud services. The second is the simplest approach, but has its own limitations. In both cases, backup before you begin.
Don’t forget
Once you install a new OS on your Mac you must expect some short-term performance degradation as the system gets used to its new macOS. Among other things, it will need to reindex the Spotlight database which can slow your Mac down a little. Give your Mac some ‘me time’ and the process will be faster. You should also check the Mac App Store for any new app or OS updates.
Please follow me on Twitter, or join me in the AppleHolic’s bar & grill and Apple Discussions groups on MeWe.


