How to screen record on iPhone in just 4 steps

Perhaps she didn’t need two phones after all?
Have you ever wanted to record what’s happening on your iPhone screen, perhaps to show someone how to change a setting or to grab a little action in your favorite game? Just follow this guide to learn how to screen record on iPhone.
Set it up in Control Center
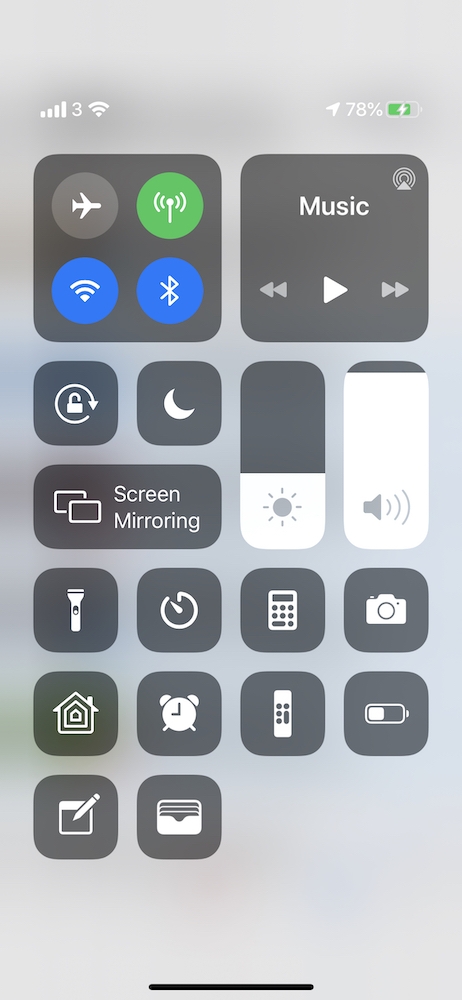
To set screen recording up so it’s as easy as a flick and a tap, open Settings>Control Center and tap the Green plus (Add) button beside Screen Recording to add it to your Control Center. Take a quick mental note of the icon for the feature, which is a circle surrounding a dot on a square background. *Try not to confuse this with Dark Mode, which is similar.
Open it in Control Center
Once set up, when you want to make a screen recording on your iPhone you just need to open Control Center (swipe up from the bottom of the display on TouchID devices, or down from the top right corner on FaceID phones) and tap the icon there.

What happens next
Once you tap the ‘Record’ button you will see the icon change slightly to show a three-second countdown before recording begins. Just exit Control Center to begin recording your screen. Open Control Center and tap the icon once again to stop recording or tap the red status bar at the top of your screen and select Stop.
Where are my recordings?
Recordings are stored in Photos. To find them, open the app, select Albums view and scroll down to find Screen Recordings. You can then edit, share, and delete those recordings just like anything else in Photos.
Now learn How to use Lockdown Mode on your iPhone, iPad, and Mac
Please follow me on Twitter, or join me in the AppleHolic’s bar & grill and Apple Discussions groups on MeWe. Also, now on Mastodon.


