How to speed up iOS upgrades… with your Mac!

The iOS Mac isn’t here yet, but they sure are getting closer
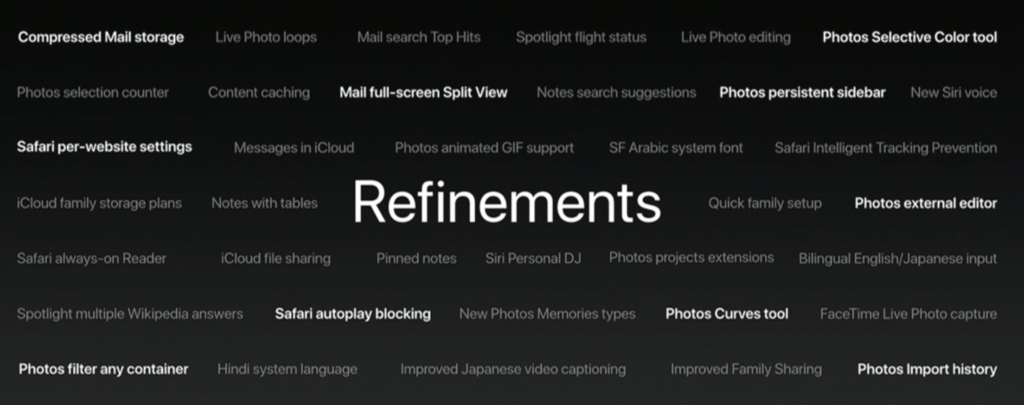
If you use a metered broadband Internet connection, or want to save time when updating multiple Macs, Apple TV, and iOS devices, you should learn about a new trick in macOS High Sierra, Content Caching.
New. Not new
Content Caching isn’t really new. It has been made available as a feature in the Server edition of the OS for some time, but was introduced in the standard OS as of High Sierra.
The idea is that this feature will download and store (cache) things like Mac and iOS software updates and iCloud content (such as books, photos, and more) on your content cache enabled Mac.
That Mac then becomes a little server, and will make all this cached data available to all the other Macs, Apple TVs and iOS devices sharing the same network.
Once enabled, the Mac will keep a copy of all content that local networked devices download (so long as they do so on the same network). Effectively, this means any software update only needs to be downloaded once, rather than downloaded individually for each device.
When another device later requests the same content (or software update), it will get that item from your Mac. This should save bandwidth and time.

Content Caching is just one of the many improvements to be found in macOS High Sierra
The good, the less good
This is a good thing: Not only does it save a little bandwidth (which we must all predict will become even more expensive now net neutrality just got binned), but it also makes it possible to speed up software updates across all your systems.
There is one flaw to this software heaven:
The Mac you use as the content cache system should connect to the Internet using Ethernet.
Apple puts it this way:
“It’s strongly recommended that you set up content caching on a Mac that has a single wired Ethernet connection as its only connection to the network. Content caching can use a Wi-Fi connection instead of Ethernet, but performance might be affected.”
It is also worth noting that content caching may not be useful for some home users.
That’s because many Macs demand different versions of the same operating systems, as do iPhones. Content caching, therefore, really comes into its own when all the devices are identical, which you’ll finds more often in small to medium enterprise environments.
How do you set it up?
It’s easy to set this feature up.
- Open System Preferences>Sharing
- Look to the bottom of the list in the left Sidebar and toggle Content Caching to on
- Look to the right and you’ll see a checkbox that lets you cache iCloud content. There is another box which lets you share your Mac’s Internet connection with iOS devices that are connected by USB.
- Once you’ve enabled Content Caching you should tap the Options button (bottom right).
- This leads you to a slider tool you use to set how much storage you wish to assign to content caching.
- You will need to restart all your Apple devices. This prompts them to find the caching service you now have running on your network.
Apple has a highly detailed tech note here. Network admins can also use Terminal to configure more advanced caching settings.
These types of content are cached
- iTunes 11.0.4 and later
- iOS app purchases and app updates
- iBooks Store content (iOS 6 and later, and OS X Mavericks and later)
- iOS updates downloaded using iTunes are not cached. iOS updates delivered “over the air” are cached instead.
- macOS updates
- Apple software updates
- GarageBand downloadable content
- Third-party apps from the Mac App Store and their updates
- iCloud data caching (photos and documents) for OS X El Capitan v10.11 and later
- iOS 7 and later and Apple TV
- iOS updates (over the air)
- Apple TV updates (over the air)
- iOS apps, Apple TV apps, and app updates
- On-demand resources support for iOS 10 and later and tvOS 10 and later.
- iCloud data caching (photos and documents) for iOS 9 and later
- iTunes U course materials
- Certain mobile assets, such as Siri high quality voices, language dictionaries.
NB: Not all content is cached in all regions.
Are you using content caching? Is it saving you bandwidth? Have you had any problems using this feature?


