How to Time Machine Backup without AirPort
You can still use Time Machine backup with your Mac, despite Apple’s decision to end its AirPort range of Wi-Fi products – you just need to use a third-party Mac- or network-connected drive.

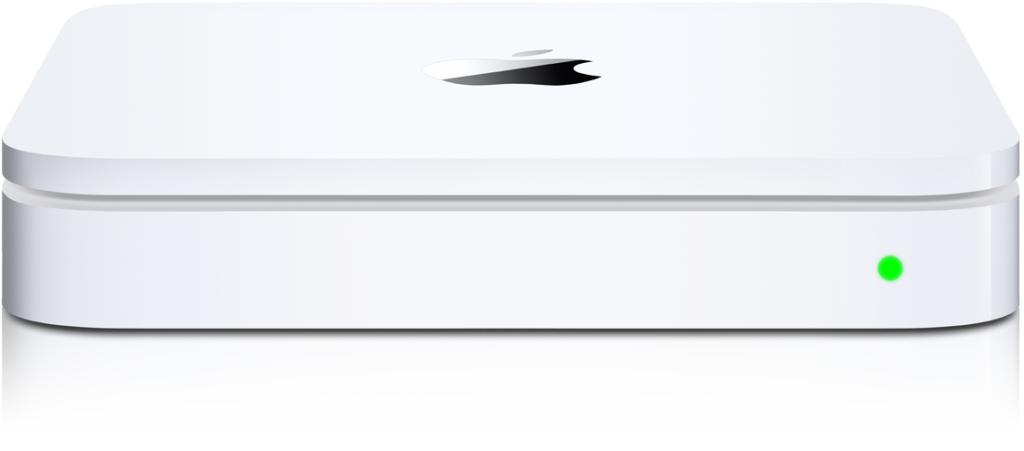
Built to work seamlessly with Time Machine, Apple’s Time Capsule was the first product to make storage sexy.
What is Time Machine?
Time Machine was introduced as one of 300 improvements in Mac OS X 10.5 “Leopard” in 2007 (when the iPhone also shipped).
It is a backup software application that is designed to archive everything on your system and is accessed using a unique interface that lets you dial back through previous archives to find the file, folder or other item that you may have accidentally deleted.
“Time Machine is a backup utility, not an archival utility, it is not intended as offline storage. Time Machine captures the most recent state of your data on your disk. As snapshots age, they are prioritized progressively lower compared
to your more recent ones,” saysApple.
Time Machine was designed to work with Apple’s AirPort Wi-Fi and a connected drive, or with a Time Capsule. Apple has discontinued those products but continues to offer Time Machine in macOS X Mojave.
Why use Time Machine?
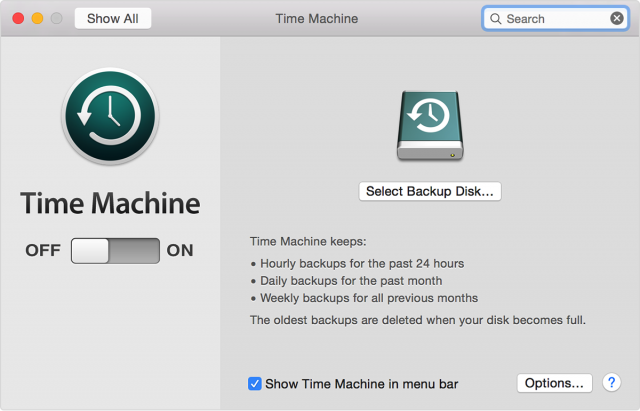
The big advantage of Time Machine on a Mac is integration, as both macOS and Time Machine backup grew up together. Once you set it up it is automatic, it keeps hourly, daily and weekly updates for you. It keeps those hourly backups for 24-hours and maintains daily backups for a month. Weekly updates are kept until the drive needs space — if your backup drive becomes full, Time Machine will continue to backup your recent data by deleting your oldest weekly backups to create the space it needs for new ones.
Time Machine can be incredibly useful if you lose your Mac or delete valuable data as all the information it stores will still be there.
However, it doesn’t create bootable backups, for example, and its file storage system is also a little unique. This is why most professional users choose to use popular third-party backup solutions such as SuperDuper and CarbonCopyCloner to suplement Time Machine protection. It’s good to use multiple forms of backup.
The easy way to use Time Machine is to go direct
The easy way to use Time Machine is to get an external Thunderbolt, USB or FireWire drive. (Macworld recommends the high-capacity Seagate Backup Plus Hub) and connect it to your Mac.
- A dialog box should appear which will ask if you want to use the drive to backup with Time Machine.
- If this happens make sure the encrypt button is enabled and tap Use as Backup Disk.
- If the dialog does not appear, or you want to use a drive your Mac has mounted before then you can enable a connected drive for Time Machine manually in System Preferences>Time Machine>Select Backup Disk– just find the disk you want to use and click Use Disk. You should also use encryption to protect your data.
[amazon_link asins=’B013PUNMBU’ template=’ProductCarousel’ store=’9to5ma-20′ marketplace=’US’ link_id=’daf02818-af95-11e8-9822-93cdf7b17559′]
The backup process will begin and you will see a progress bar appear in the Time Machine preferences box – this is always an estimate and the actual time it takes to backup can be much longer.
How to use Time Machine for wireless backup
AirPort makes it very easy to connect a Time Machine drive wirelessly — just plug a supported drive into your AirPort router or use a Time Capsule.
The good news is that some non-Apple routers have USB ports which will support third-party drives that can then be set-up for use a Time Machine backup points. (NetGear routers have an excellent reputation for this).
How to set this up varies depending on the router, but in broad terms once you connect a drive to that router you should eventually be able to select it as a Time Machine backup destination using System Preferences as above.
Smart tip: The first Time Machine backup always takes a really long time – and this is way longer if you choose to backup over a Wi-Fi network. You can use this excellent tip to accelerate backups over Wi-FI, or simply connect the drive you want to use wirelessly directly to your Mac for the first backup, and then connect that drive to your router once that first backup is complete. When you do so you must then choose the drive as your backup destination point in Time Machine System Preferences, but the backup it then makes will be incremental as the data is already on the drive.
How to access a Time Machine backup
Open a window in the folder you want to restore data to, then tap the Time Machine icon at the top of the menu, in the Dock, or ask Siri to launch Time Machine. You can now race through the timeline at the right of the screen until the item is rediscovered.


Great article!
It seems, however, that my Mac doesn’t see the disks that are connected to the AirPort if they are formatted as encrypted. Do you know if there is a limitation? I’d like to keep my backups encrypted, particularly if they are accessible via Wifi.