How to use Apple Pencil in 8 tips
In this article we’ll share some of the Apple Pencil tips and tricks most of us never found time to learn about.
Apple Pencil: Beyond the basics
 In principle, using Apple Pencil is pretty straightforward: Keep it powered up, make sure to keep a set of nibs handy, keep it paired and draw with it on your iPad, remembering to use its pressure-sensitivity features as you do. You can even set your iPad up so you automatically open a new Note when you tap the display.
How to find the Ruler in Notes
Apple made the Ruler harder to find in Notes. We’re going to find it now as we’ll be using it later.
How to find the Ruler:
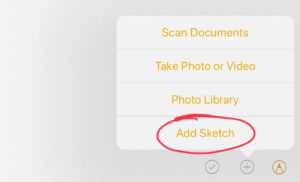
- In a Note, tap the plus button
- In the small dialog that appears, tap Add Sketch
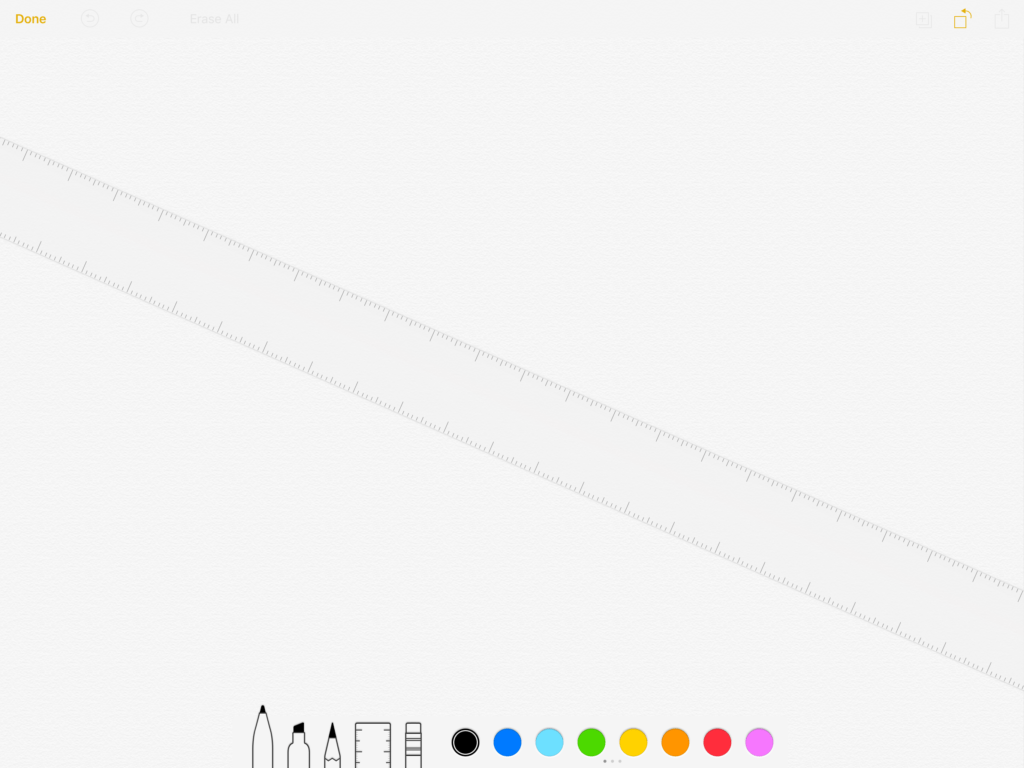
- In the next page you will see the Ruler icon at the bottom of the screen with all your other authoring tools. Tap to enable.
Once your Ruler appears on screen you can move it and change the angle it is held at by using two fingers.
How to draw a straight line
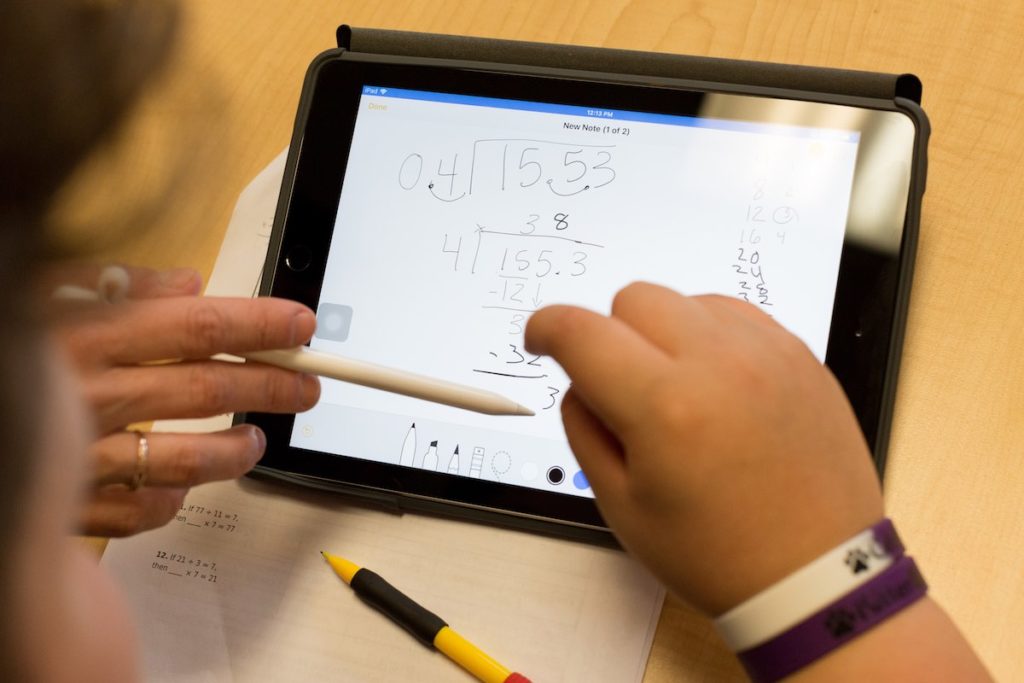
The easy way to draw a straight line with Apple Pencil is to use the ruler in the Notes app. Open up the Ruler, place it where you need it to be, and use the Pencil to draw along the straight edge.
How to use Instant Notes
That thing that lets you open and write a Note just by tapping the iPad’s lock screen? You enable it in Settings>Notes>Access Notes from Lock Screen, and can set it to always create a new Note, resume last Note viewed in the app, or resume last Note opened from the Lock Screen.
[amazon_link asins=’B06Y57C5Y4′ template=’ProductCarousel’ store=’9to5ma-20′ marketplace=’US’ link_id=’d7e5424b-bfd7-11e8-8cfb-9d5109315c50′]
How to use Instant Markup
Take a screenshot and you can add all kinds of annotation directly in the screenshot preview screen that appears after the image is captured.
You can also easily markup other items, such as attachments in Mail or images in Photos, just tap them with your Pencil first. More on the feature here.
How to Drag & Drop
You can drag-&-drop multiple items using Apple Pencil – just tap something with the pencil to select it and you can then tap additional items with your finger, adding all these to a stack you can move around with your not-really-a-stylus.
[amazon_link asins=’B01L9MDCLQ’ template=’ProductCarousel’ store=’9to5ma-20′ marketplace=’US’ link_id=’50e32f48-bfd7-11e8-8058-159e5dc918ca’]
How to select text
When working on an iPad I find Apple Pencil to be the easiest way to select text. Tap and hold to select a single word and you should see highlights appear on that word, with two dots at either side. To select additional words on either side of the selected, just use your Pencil to select a dot and extend the selected area. It’s way more accurate than using a finger.
[Also read: The Apple Pencil troubleshooting tip iPad Pro users must know]
How to reach Spotlight
Once you make it to iOS 12 (and you should) you can get to Spotlight search on your iPad swiftly by tapping your Pencil at the top of the screen, waiting an instant, and then dragging down the screen.
How to get more from Apple Pencil
There are several creative apps that are superb to use with Apple Pencil. Most cost cash, but some really powerful apps are free and will give you a good sense of how your iPad and Pencil can work together as creative tools. Here are five to get you started:
- Adobe Illustrator Draw– great app for drawing
- Autodesk SketchBook– another powerful app, you can really explore your drawing skill with this.
- Adobe Comp CC– want to mock up a design? Explore this app.
- Sharpr 3D– a powerful CAD app, expensive in Pro version.
- LiquidText– this is a revelation for research, possibly one of the most useful apps for knowledge workers around – take a look..
What about a mouse?
iPad does not support an external mouse. That’s fine if you use an Apple Pencil, but for three good ways to connect a mouse to your iPad, please take a look at this report.
One more thing
These tips will also work with the new Logitech Crayon.
Do you use Apple Pencil? What are your favorite Apple Pencil tips? Let us know in comments below.


