How to use iOS 12’s App Limits feature
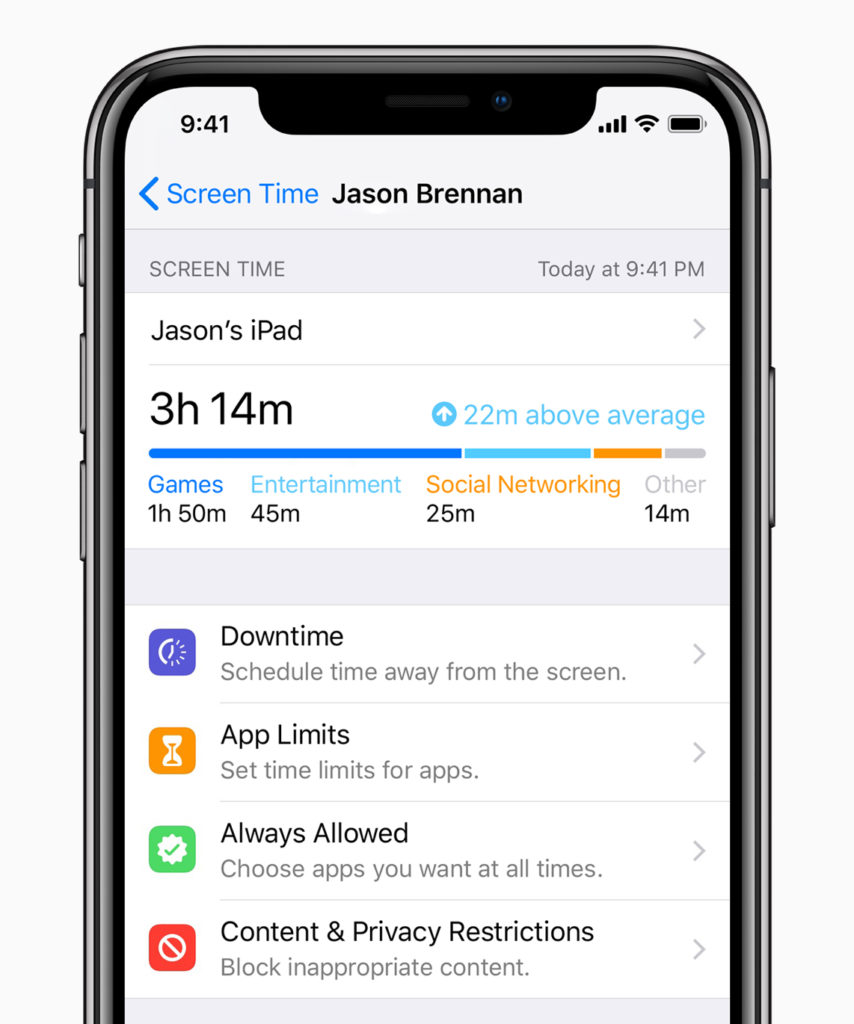
Apple’s iOS 12 introduces a new Screen Time digital health tool within which you’ll find a useful tool that lets you control how much time you spend using individual apps, App Limits.
What do you use App Limits for?
App Limits is designed to reduce app addiction. You should see it as the next step after Screen Time. You see, while Screen Time will tell you how much time you spend using particular apps in order that you can identify the ones you’re addicted too or wasting too much time on, App Limits lets you control that use.
If you are spending five hours a day on Twitter and don’t think you should be, or eleven hours playing games, App Limits will help you take the power back.
How to use App Limits in iOS 12
To find App Limits, open Screen Time (Settings>Screen Time) and then tap App Limits. You’ll find it just above the Always Allowed section which we will look at later on.
- The first time you open App Limits you’ll come to a blank screen. This will tell you “Set daily time limits for app categories you want to manage.” It also tells you that these App limits reset every day at midnight.
- Below you’ll find the words ‘Add Limit’. Tap this to create your first App Limit, and you’ll be asked to select which App Categories you want to control.
- You will see lots of choices: All apps, Social, Games, Entertainment, Creativity, Productivity, Education, Reading & Reference, Health & Fitness and Other app categories are all there.
- Check the appropriate category and you’ll come to a page with a rolling timer and the name of the relevant app category below.
- How long do you want to be able to use apps in this category every day? Set that duration in hours and minutes using the rolling timer. These limits apply to all devices using iCloud for screen time, and you will be given a 5-minute warning before the app curfew kicks in.
- Once you set the amount of time you want to limit use to, you can tap the Customize Days item that appears underneath the time. Here you can set different schedules for different days – just tap a day, set the schedule, and move on.
How to set an App Limit for specific apps
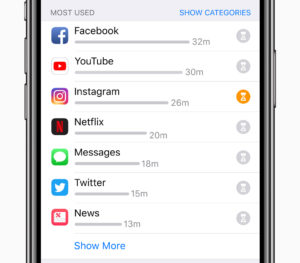
You can also set an App Limit for specific apps, rather than for all the apps within a selected category. To achieve this, return to the main Screen Time view and tap the main app usage readout window at the top. Scroll down the screen and you will see all the apps you most use listed. To set a usage time for any of these, simply tap the app name and tap Add Limit at the bottom of the screen – you then set the appropriate time using the timer.
[amazon_link asins=’099316160X’ template=’ProductCarousel’ store=’9to5ma-20′ marketplace=’US’ link_id=’f32ec087-b11f-11e8-8c5b-f541957f3774′]
What happens when I run out of time?
When your time is running out you’ll get a 5-minute warning to let you know. When you do, you can choose to ignore the limit for the day or get an extension of 15 minutes of additional time. Of course, App Limits can be changed by the device owner, so if you do run out of time and want to keep using the app you can just switch the relevant App Limit off, if you think that’s the right thing to do.
What about Always Allowed?
Got apps you always want to be able to use? Set them in this section (just underneath App Limits) – tap the plus sign beside the app name in the list to enable their permanent use.


very nice information about iOS .i love this website because it gives very good general information about any tech news updates