How to use iPhone or iPad screen recorder on iOS

Recording what takes place on your iPhone screen is no longer a dark art because Apple added a Screen Recording tool inside of iOS – it’s easy to use and very effective.
What you need to know
Screen Recording on an iPhone will record everything, including any incoming notifications you may receive. If you plan to share your recording you should disable notifications in Settings>Notificationsbefore you begin recording.
You can record video, video and audio, and all recordings are saved to your Photos library once complete.
How to use iPhone screen recorder on iOS
Apple has made its screen recording tools available as an option accessed via Control Center, so you should enable the feature before you begin:
- Open Settings>Control Center
- Tap Customize Controls
- Look down the list to find Screen Recording and tap the green plus buttonto add it if it is not already enabled.
- (If it is already enabled it will be higher up the screen within the ‘Include’ section).

Now you’ve enabled the feature you can record what is taking place on your iPhone screen from any compatible app, so long as you have the Access Within Appstoggle enabled in Settings>Control Center.
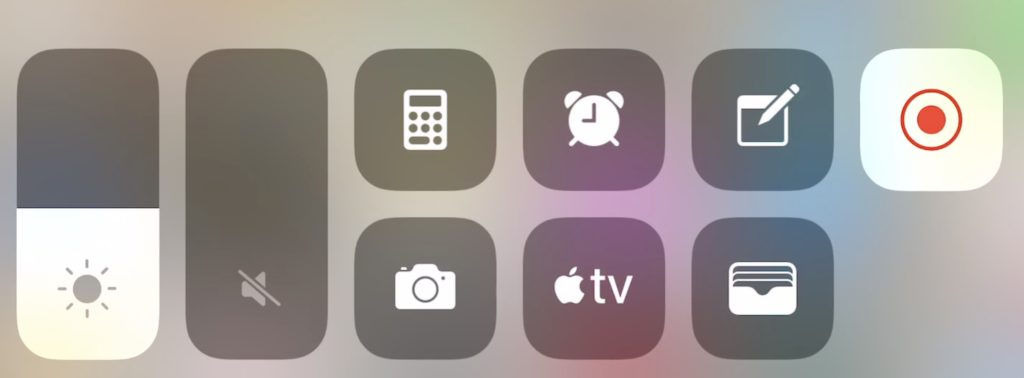
When you are ready to use iPhone screen recorder, just go to the page/app/interface you want to record and swipe up to access Control Center.
While in Control Center, tap the screen recording app (a white dot surrounded by a white circle) to begin recording.
A red bar will appear at the top of the screen to let you know recording is taking place. Tap there to stop recording.

Long press provides more options
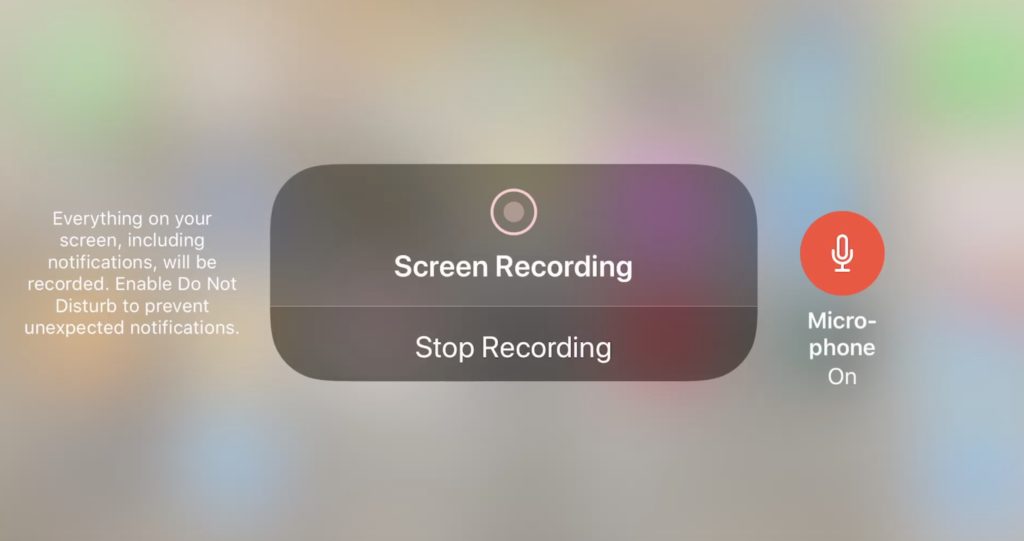
Long press the tap the screen recording app icon to get more options. You will see a new screen interface that looks like the above image. Tap Start Recording to begin to record. (you will see a red bar at the top of the window as above). In this view you can also switch the microphone on or off.
What can I do with my videos?
The videos you record are stored inside the Videos folder of your Photos collection. You can treat them just like anything else in Photos – delete them if they are useless, use the Share pane to show them to other people, and edit them by trimming the beginning and end points of the clips.


