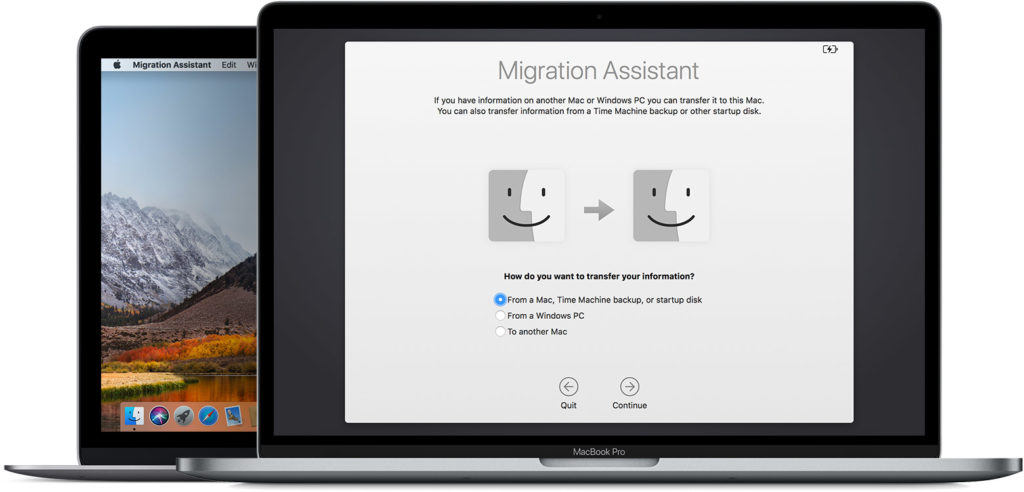
How to use Migration Assistant to switch from Windows to a Mac

Apple has a tool that’s built inside every Mac to help Windows users migrate much of their most important data over to the new platform when they decide to upgrade to a far more secure and more robust macOS system.
What is Windows Migration Assistant?
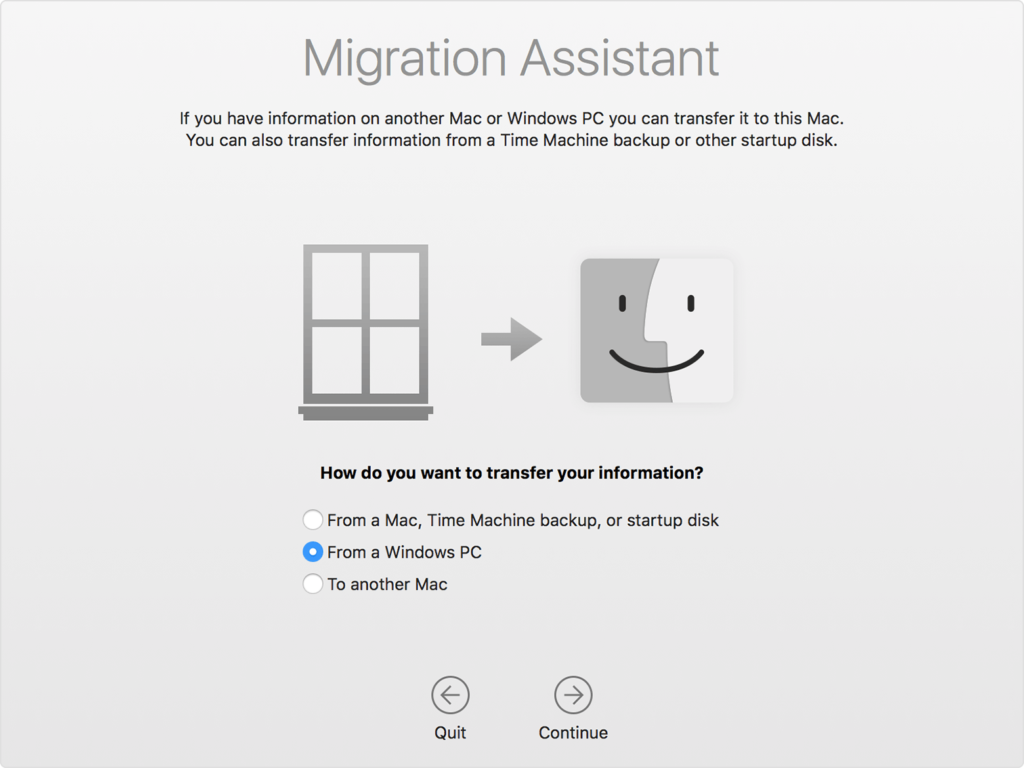
Windows Migration Assistant is software that’s built inside every Mac. It works with Windows XP and later and. will install lots of stuff from your PC to your Mac, including desktop background, any e-mail accounts, contacts, bookmarks, iTunes music and other data.
There are some limits on some Windows installations which means the information Apple can bring across is dependent on which version of Windows you are running.
Here is Apple’s list of what it will migrate.
1.Back-up before you begin
Before you migrate to your new Mac, you should make sure you back-up all the data from your Windows system, ideally to an external hard drive. Most Windows users I speak to recommend using something like Cobian Backup or FBackup for this process. Both of these applications are free. You may want to take the precaution of exporting all your contacts data to iCloud online.
2. Update the software on both computers
Now you’ve backed up your data you should launch both your new Mac and your Windows machine and make sure they are both on the same network (wired or wireless). You should also make sure to update both computers to the latest OS version available to them. (Apple Menu>About this Mac>Software Update).

3. Download Migration Assistant to your PC
You must download and install the Windows Migration Assistant.
- Windows Migration Assistant for macOS Sierra or later
- Windows Migration Assistant for OS X El Capitan or earlier
- A new version of the software is expected for macOS Mojave
Once installed, open the software and tap Continue.
Use Migration Assistant on your Mac
If it’s the first time you’ve launched your new Mac Set Up Assistant shold open automatically. If it does not you should open Applications>Utilities>Migration Assistant on your Mac, select From Another Mac or PC and then click Continue
You’ll be asked for your Mac password.
[amazon_link asins=’B076HZLPV2′ template=’ProductCarousel’ store=’9to5ma-20′ marketplace=’US’ link_id=’6b88eeb3-9a4f-11e8-a0ad-194fc3b5c604′]
You’ll be asked to quit all active applications after which the Mac’s Windows Migration Assistant will show you the PC you want to migrate your data from. Click it to select it.
You’ll be asked to enter an automatically-generated passcode. It will appear on your Mac, then PC, after which you press Continue.
You then select what information you want to bring across — you’ll see a box with checkboxes beside each information type.
Once you’ve done so, tap Continue and the process will complete.
Don’t be too impatient – the process can take some time over the network if you are migrating a lot of data, but you’ll be told once the process is complete.
Enjoy your Mac!


