How to use Photographic Styles on iPhone for better photos

Photographic Styles on iPhone help you create images that meet your expectation of an image when you take it. So what are they, and how do you use them to take better photographs?
They remind me of one time I met with a printer manufacturer, and we discussed how different nations see color a little differently. It turned out there were varying expectations for print color across nations, which means there is no one set fixed standard of what color should be.
So, why should everybody’s images use the same basic style?
That’s what this feature attempts to fix.
What are Photographic Styles on iPhone?
If you use an iPhone 13 or later or use an iPhone SE (3rd gen) you can set Photographic Styles in the camera.
What these do is personalize how your camera takes photos. You see, when you look, you’ll find three primary preset styles, which you can then tweak to your own requirements by adjusting the tone and warmth settings of your image.
Your Photographic Styles choices are set until you override them or switch them off, so every image you capture from that point will reflect the style choices you take. Even if you’ve never explored Photographic Styles your camera is using one – it’s set to Standard (a “balanced style that is true to life”) by default.
These are the Photographic Styles
These are the Photographic Styles you can select between – sorry for my appalling photos:
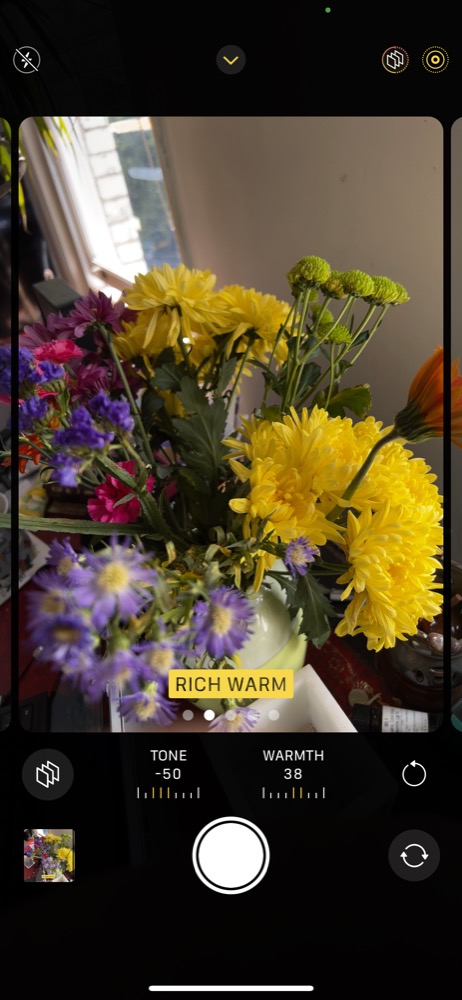
Rich Contrast: This style promises richer colors, more contrast and darker shadows, which can make for more dramatic seeming shots.
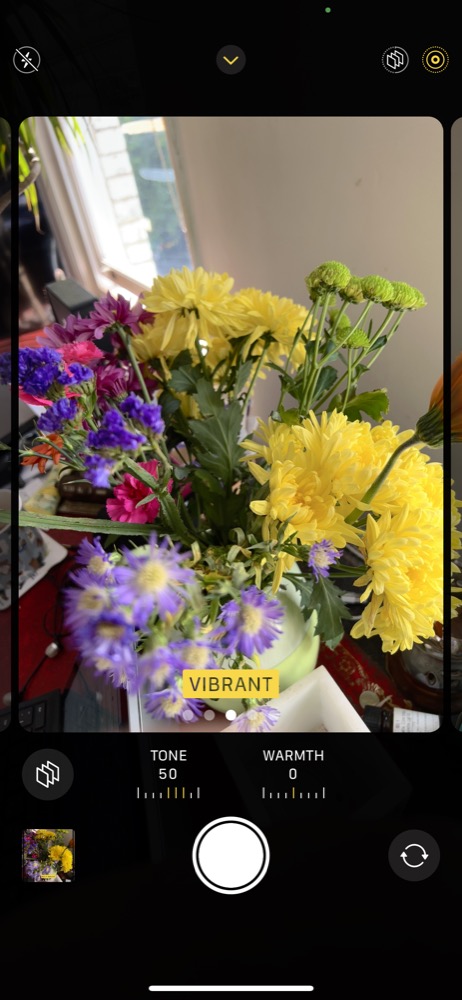
Vibrant:Bright, vivid colors for a bright and natural look.
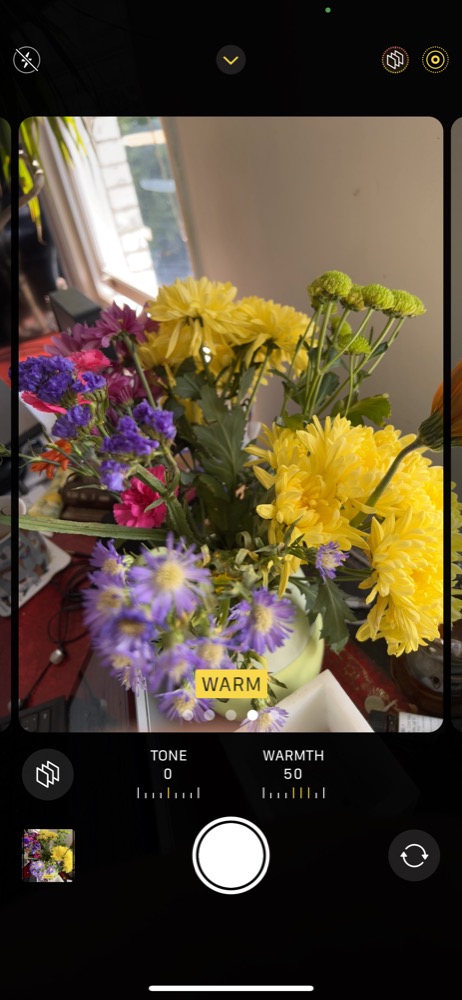
Warm:A slight gold tint warms the image.
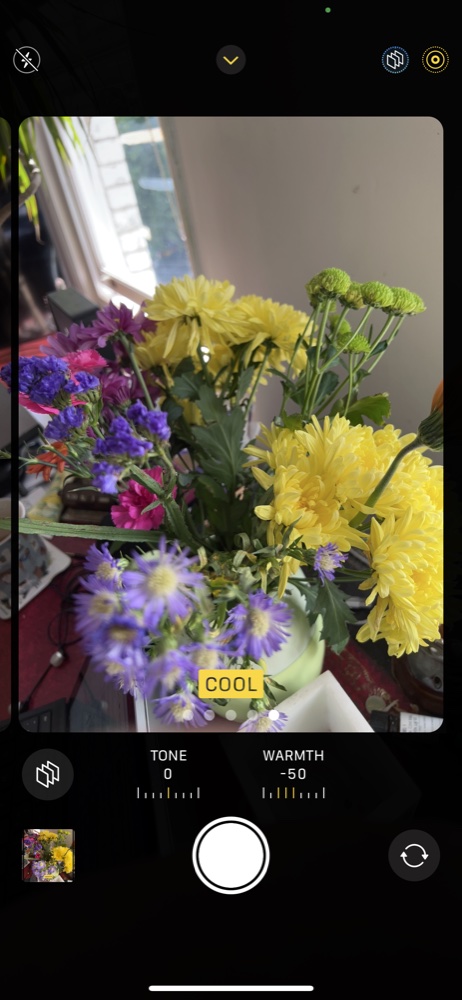
Cool:This style provides a slight blue tint.
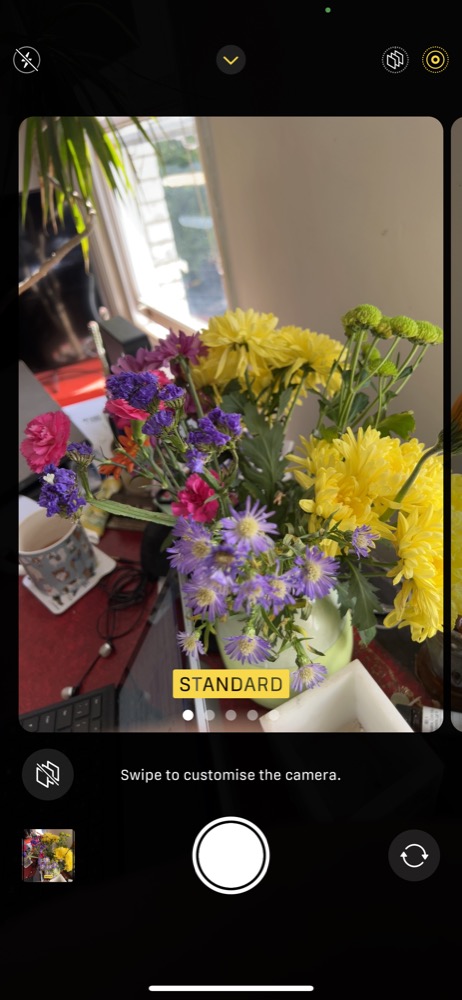
Standard: A balanced style for a natural shot. I think the half drunk cup of tea and desktop clutter looks particularly fine in this series of shots.
What makes this work?
What makes styles so effective is that they make use of a little machine intelligence, so the style is applied with some semantic understanding of the image you are attempting to catch.
[Also read: How to take macro pictures with iPhone 13 Pro & Pro Max]
That understanding means the style will still capture accurate color where it is important, while adjusting the rest of the image to reflect your style choice. So, a face may remain completely accurate within an image no matter what style is used.
That’s a different way of doing things than the application of color filters, which cast a color over the entire image, with no contextual intelligence at all.
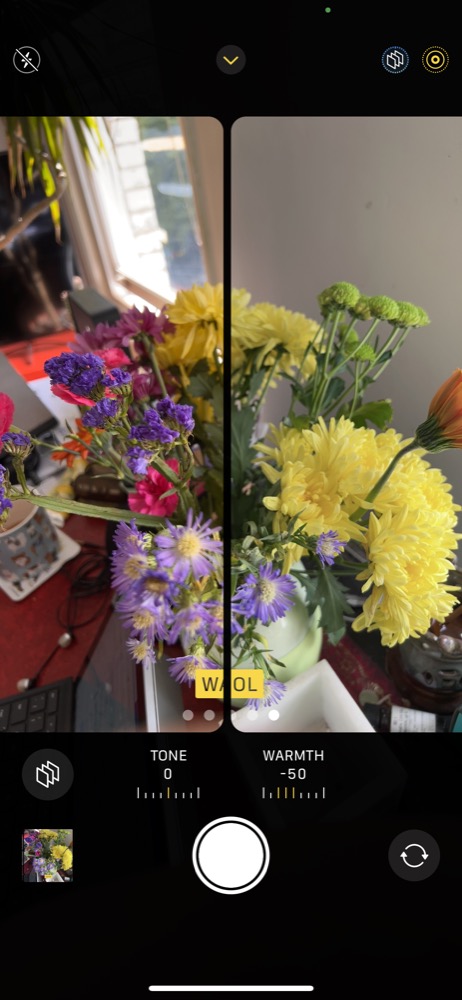
You can even swish between styles and compare the difference
How to use Styles
- To find and select a style just tap the Arrow at the top of the Camera app screen.
- Look below the image and a selection of new options should have appeared.
- Tap the option that looks like three small squares in a row seen from the side.
- A series of dots will appear above, swipe left to preview the available styles.
- When you find a style, you like you can tap the Tone and Warmth controls to adjust those values to find the style you like best.
- It’s OK to experiment – just tap the circular arrow icon at the lower right to reset the values to standard.
- Once you have selected a style you like you should tap the small, square button (now to the left of tone/warmth) to apply that style.
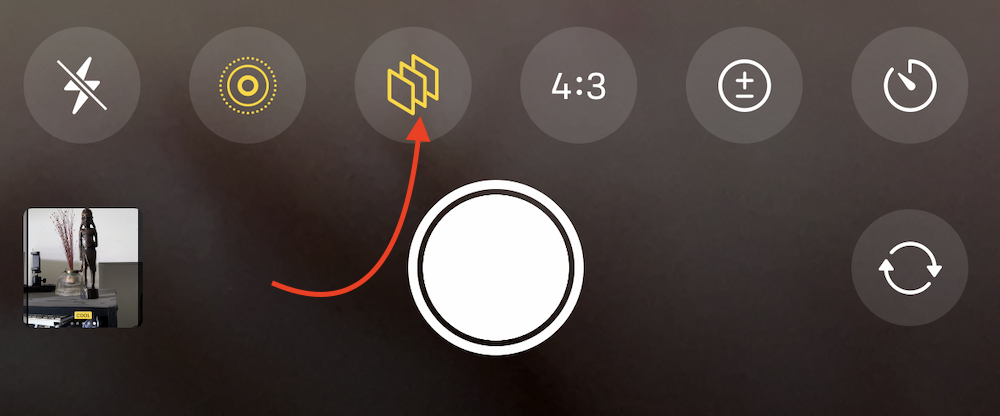
Wherever you see this icon in Camera you can tap to access Photographic Styles
What if I don’t want to use the Style?
Once you select a style the multi-square icon should appear at the top of the screen. If you are capturing an image and don’t want to use that style, or wish to select another one, just tap that square to change, disable, or adjust it.
It’s also possible to adjust styles in Settings>Camera>Photographic Styles.
More tips? Take a look here.
Please follow me on Twitter, or join me in the AppleHolic’s bar & grill and Apple Discussions groups on MeWe.


