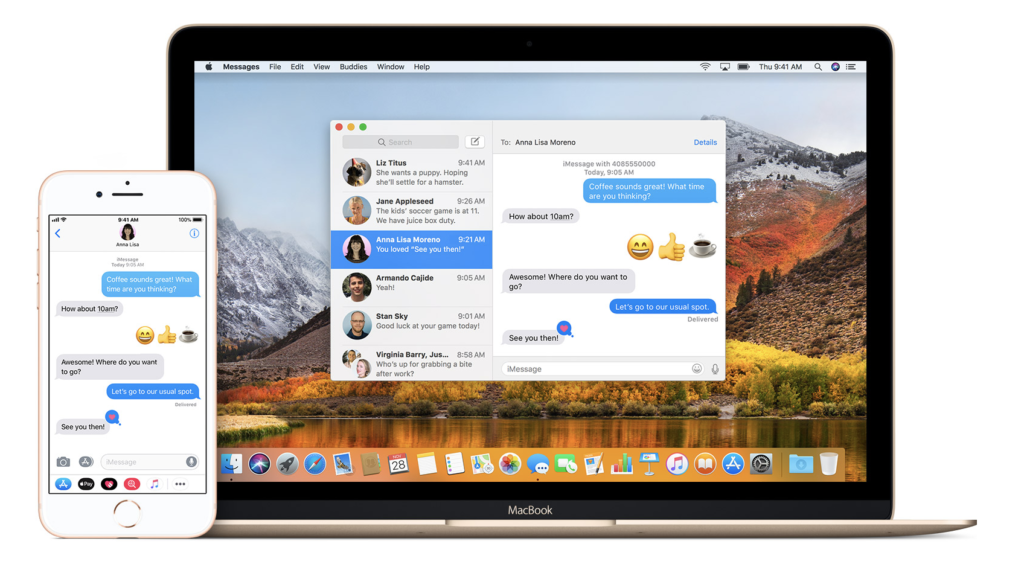
How to use Screen sharing in Messages
 Apple’s Messages app contains a screen sharing tool. This is particularly useful if you must provide remote tech support, training or just want to work virtually with someone.
What is Screen Sharing in Messages?
The feature lets you share what’s on the screen of your Mac, or request that the person you are in a Messages conversation with share their Mac’s screen with you.
When you share your screen the person on the other Mac can see what’s there, and can sometimes open files, move things around, access apps or even restart your Mac.
If they share their screen with you that’s the power you get, too. Effectively it lets you use the other Mac remotely.
What to do before you screen share
You will need to take one simple step before you begin to share the screen: You must turn screen sharing on the Mac you want to share.
- Open System Preferences on the Mac you want to share the screen of.
- Select Sharing.
- Select the Screen Sharing tickbox.
You can ignore the option to specify who can share your screen, as this is for local network volumes. More information on this is here.
Once you’ve enabled Screen Sharing on the destination Mac you will be able to use the feature.

c/o Apple
OK, I’ve done that, can I use Screen Sharing now?
Yes, almost.
First you must take a moment to double check that you are signed in with your Apple ID.
Open Messages Preferences, tap iMessage (and wonder why Apple hasn’t got the consistent branding sorted on this yet) and look at the Apple ID information there. It should be your primary Apple ID.
If it is you’ll be able to share your Mac’s screen.
(You’ll need to talk a person whose screen you want to share through these steps before you can work together).
Great, I get it, now can I use Screen Sharing in Messages?
Yes. We’re heading into the final few steps to using screen sharing in Messages as you’ve:
- Approved screen sharing on your Mac.
- Verified the Apple ID.
Let’s go:
Open the Messages app and find a conversation thread for the contact you want to share your screen with.
Or launch a new conversation with that person.
- While in the conversation, tap the Buddies item in the Menu.
- In the dropdown menu you’ll see two options, choose the appropriate item:
- Invite to Share my Screen.
- Ask to Share Screen.
You can also click the blue Details label (top right of Messages) beside their contact details, and then tap the Screen Share button.
What happens next is that they will receive an invitation pop up on the screen of their Mac, which they will need to accept or decline.
How to put them in control
Once they accept you can choose to give them control of your Mac.
You can also choose to only allow them to see what’s happening on your display – you retain control.
Click the two joined box icon in your Menu bar and you can choose “Allow [name] to control my screen” so there’s a tick next to it.
They will now contr your Mac. An audio call will automatically begin so you can talk them through what is happening. You can also drag-&-drop files, documents and other items between your host Mac and the shared screen.
How to stop sharing
To stop the screen share session just click the Screen Share icon in the menu bar and choose End Screen Sharing, or close the screen share window.
Hope this comes in useful.
Please follow me on Twitter, or join me in the AppleHolic’s bar & grill and Apple Discussions groups on MeWe.


