How to use the AirPods Pro 2 earbuds like a pro

The new slider volume control on AirPods Pro
I’ve been using AirPods Pro 2 for a week and you can expect a short review soon, but I thought readers may be interested to learn what’s new when it comes to controlling the new Apple devices.
How to use AirPods Pro 2
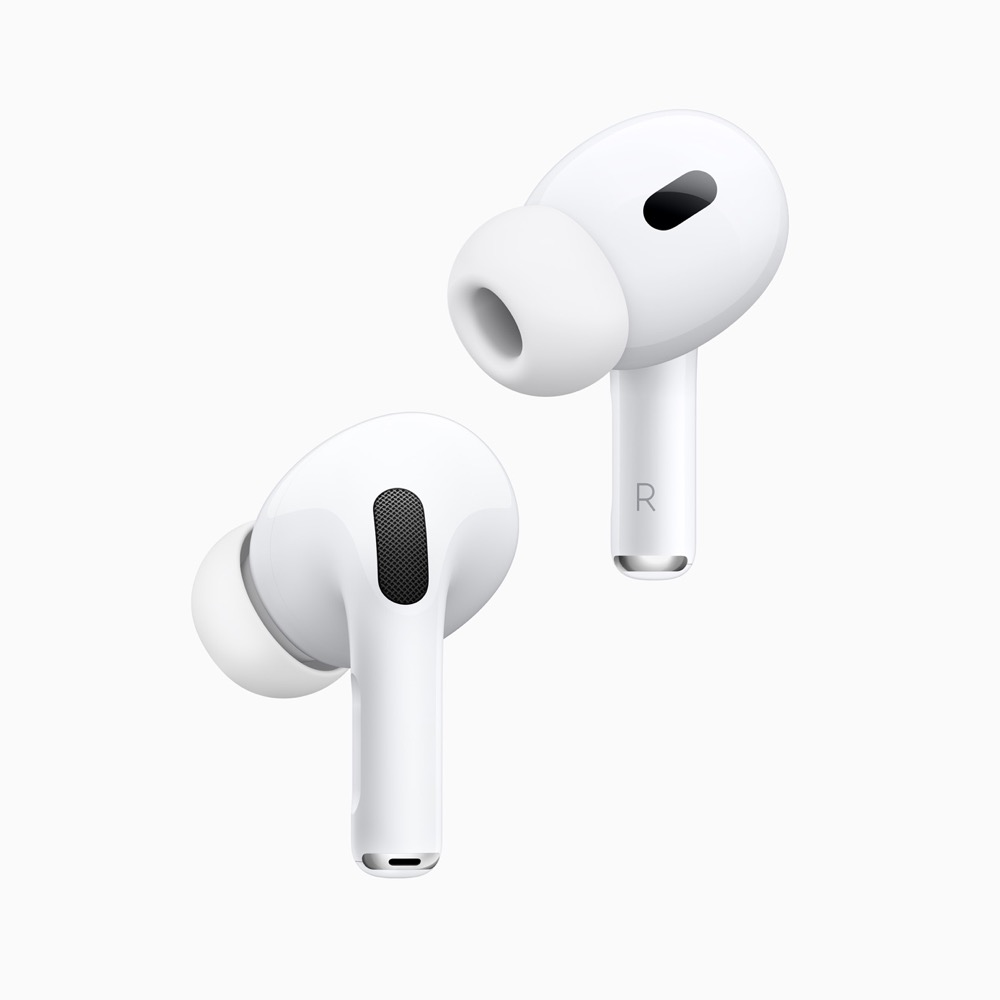
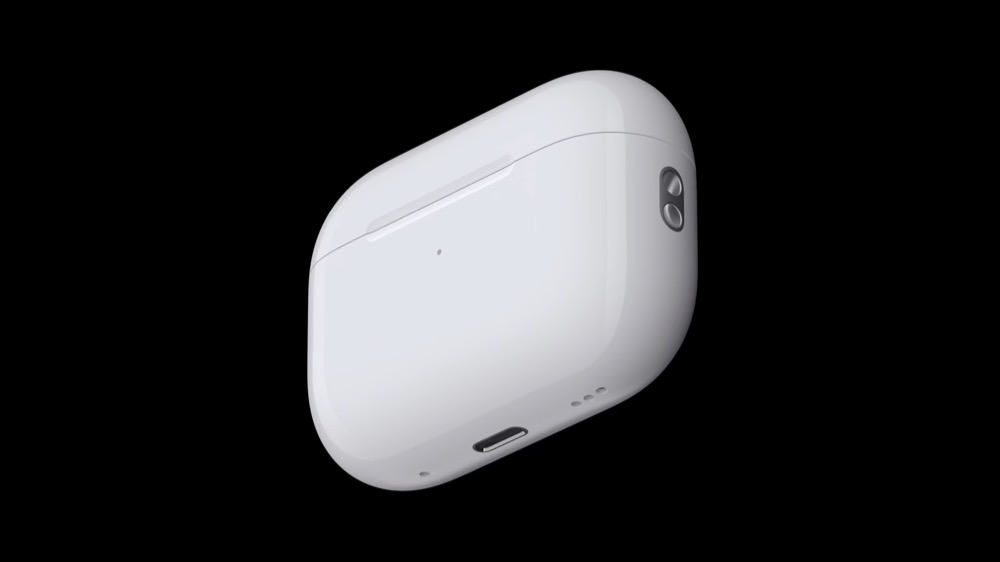
At first sight, little appears to have changed. The box and buds seem very similar with a couple of very small changes. The AirPods Pro 2 charging case hosts a lanyard and small microphone outlets, and the bud boasts a slightly shorter black stripe at the top than the previous generation. The case also contains a U1 chip so you can find it if it is mislaid.
Looks don’t tell you everything, however, and Apple has put an H2 chip, new audio drivers and amplifiers and improved its computational audio technologies so you end up with better sound. You also gain a 33% improvement in battery life and new touch controls.
Personalized Spatial Audio is a wonderful treat when you want to listen to sounds while moving your head around, and the capacity to dynamically track someone’s head when in a FaceTime meeting also seem to be good improvements. When you use SharePlay to watch a show with friends, you’ll now have 48kHz cinema-quality audio.
So, what’s new in controls?
How to use the touch controls
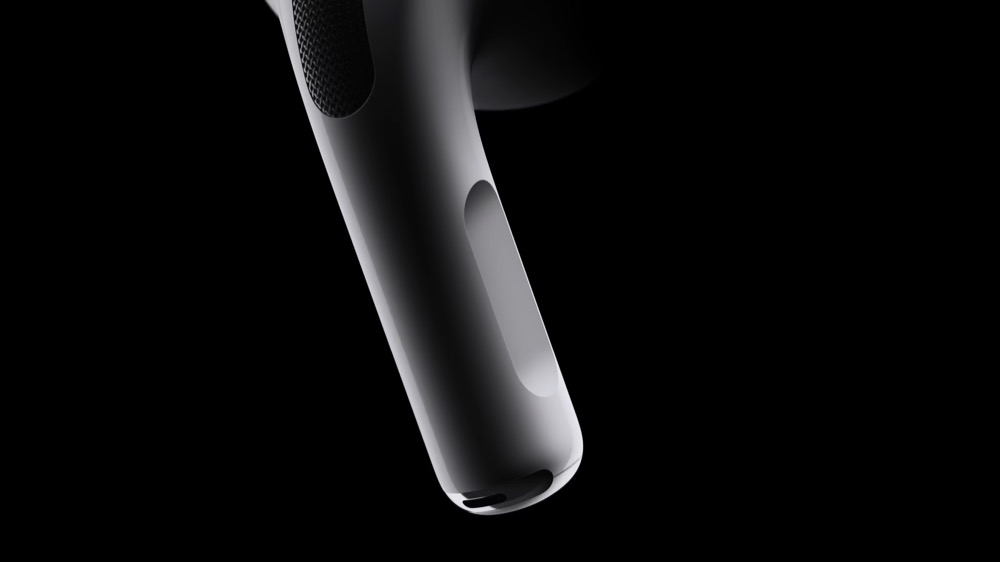
The AirPods Pro 2 carry touch sensitive panels you can use to control your buds. That panel has been improved in this version of the product and now understands swipe gestures, so you can swipe to adjust volume.
These are the controls you have enabled by default:
- Press the touch panel once to play or pause audio.
- Long press to switch between Active Noise Cancellation and Transparency modes. You can set the long press to trigger Siri rather than Noise Control if you wish.
- Double press to skip to the next track.
- Triple press to skip to the previous track.
- Swipe up or down to adjust volume.
- Customize the controls.
- A single press on the stem answers an incoming call.
- A double press on the stem declines the call.
- At the end of a call, a single press on the stem ends the call.
- Lightly swipe up or down on the flat area of the stem to increase or decrease audio playback volume.

Get to know AirPods Settings
When your AirPods are connected to your iPhone you can select adjustments to make them a little more personal to yourself. You can access these tools in Settings, where you’ll see an easy to find AirPods setting section situated just underneath your Apple ID. Tap this and you’ll reach a page detailing your current earbuds with images and battery level indicators at the top and additional information below. Here is each section you can see there and what it can do for you:
Noise Control
This section lets you choose how your AirPods handle noise. Because of the H2 chip you’ll find this feature far more effective than before.
[Also read: How to make AirPods, AirPods Pro and AirPods Max louder]
When used in Active Noise Cancellation mode you’ll find up to twice as much noise blocked out as before. Apple has also worked to improve the algorithms used in noise cancellation, so it’s more effective in the kind of places you may use it – cafes, on public transport or during a flight.
Adaptive Transparency makes use of the H2 processor to dynamically adjust down loud environmental noises such as sirens or vehicles. It achieves this by running processor cycles 48,000 times each second to spot noise and compensate for it.

Press and Hold AirPods
Here you can choose what happens when you long press the stem of your AirPods Pro buds, though you only have two choices: Siri, or Noise Control. You can also access Siri by saying “Hey Siri” out loud.
Ear Tip Fit Test
This little test attempts to check the fit of your ear tips for the best seal and acoustic performance.
Adaptive Transparancy
This feature automatically reduces loud sounds you are exposed to when wearing both buds.
Automatic Ear Detection
Dropped an AirPod bud? Automatic Ear Detection will stop the music so you know, or restart it once you pop a bud back into your ear.
Connect to
You can set AirPods up to always connect to your iPhone, or only when the smartphone was the last device you used them with.

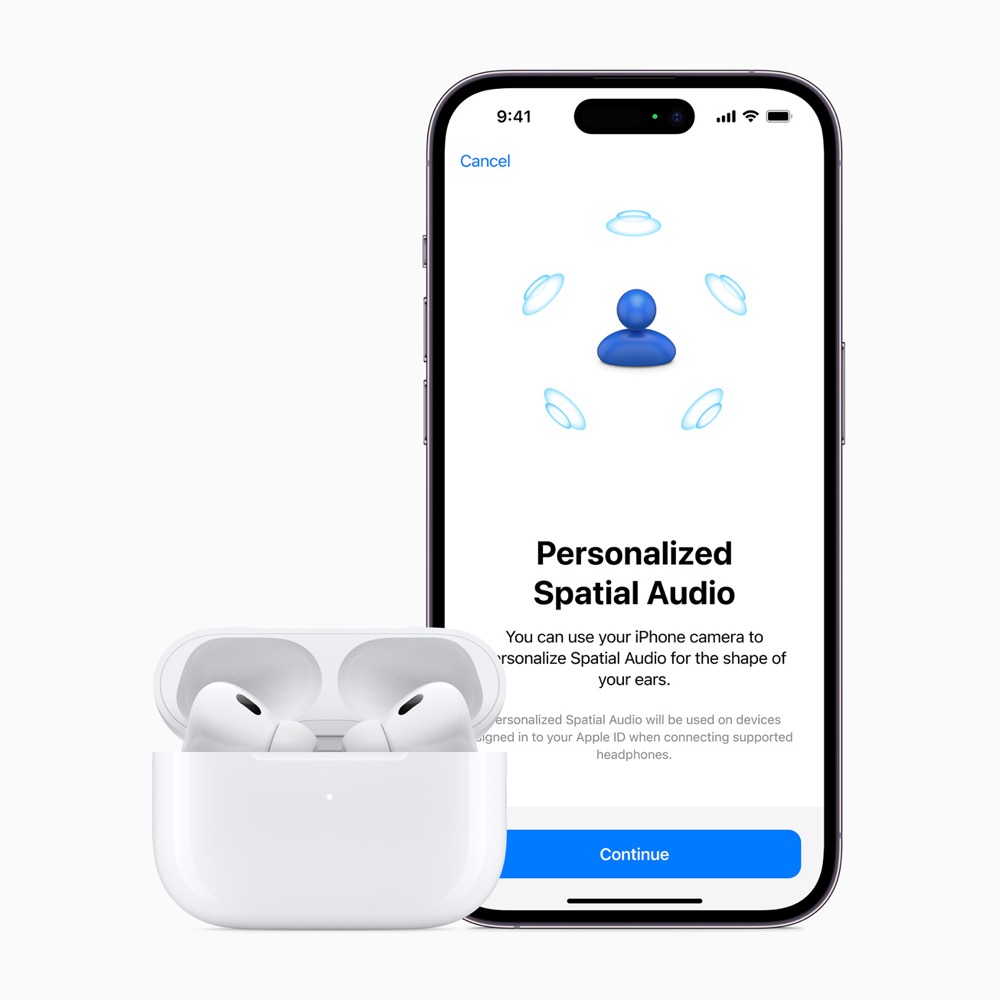
Personalised Spatial Audio
On or off, this feature tweaks your music playback to sound better for your ears only. In use it helps ensure music, voices sound elements in video are clearer and appear to be placed more accurately in the space around you.
Spatial Audio makes use of a range of technologies including head tracking. When it is enabled, you can hear the music shift from one side of your ear to another as you turn your head, as if the music was coming from a fixed point. You can also request Spatial Audio follows your movement so no matter which way you turn the sound remains balanced.
What is AirPods Pro Conversation Boost and how does it work?
Please follow me on Twitter, or join me in the AppleHolic’s bar & grill and Apple Discussions groups on MeWe.


