iOS: How to use Notes to scan documents

You’ll learn how to scan items, how to store scans for easy retrieval, and what else you can do with scans once you’ve created them.
Apple added the ability to scan documents to Notes in iOS 11, but I still get asked how to use the feature, so I wrote this short guide. You’ll learn how to scan items, how to store scans for easy retrieval, and what else you can do with scans once you’ve created them.
Let’s scan
Apple’s scan tool lives inside the Notes app on your iOS device (iPhone or iPad). Here is how to use it:
- Create a Note: Open the Notes app and create a new Note (tap the Plus button).
- You should write a few words in the new note – if you’re scanning a meal receipt in December 2018, you might write “Meal December 18”, for example. Giving the Note a title like this will make it easier to find the scan in future.
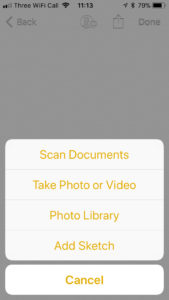
- Look to the row of buttons at the bottom of the Note. Tap the Plus button there. Then tap Scan Document in the list that appears.
- For best results, put the document you want to scan on a flat surface with a dark background. With Notes open, point your device’s camera at the document.
- You should follow the instructions that may appear at the bottom of the screen.
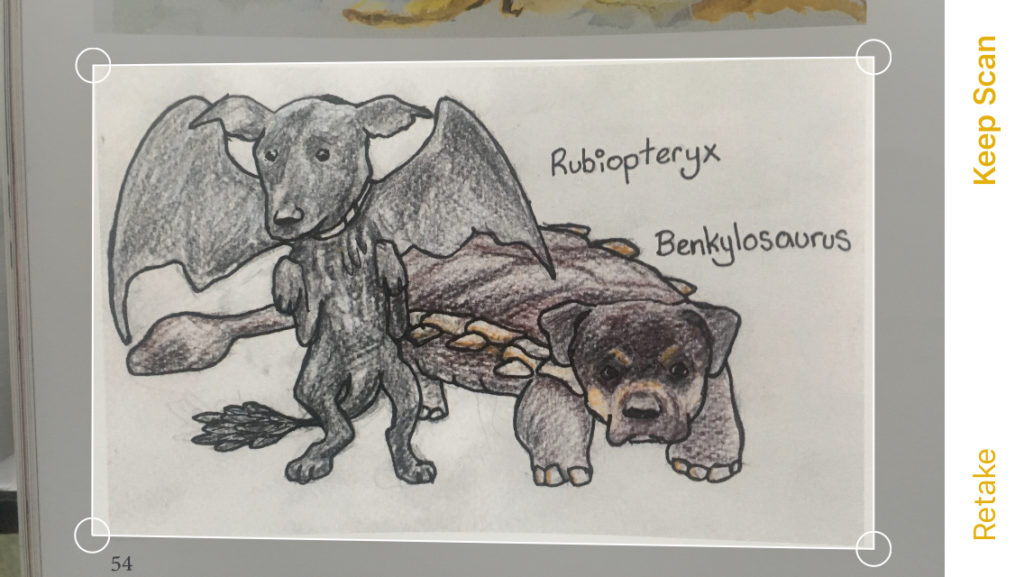
- You can now adjust the cropping around the document in the viewfinder to make sure the entire document is selected, and the borders are straight.
- You can now scan another item into the same Note – just place it in front of the camera.
- When you’ve scanned all the documents you want to scan, you should save the Note – tap the Save button at the lower right of the screen.
- When the items are scanned and saved in Notes you can add text to their Note, annotate the scans and more.
 Get to know the scan screen
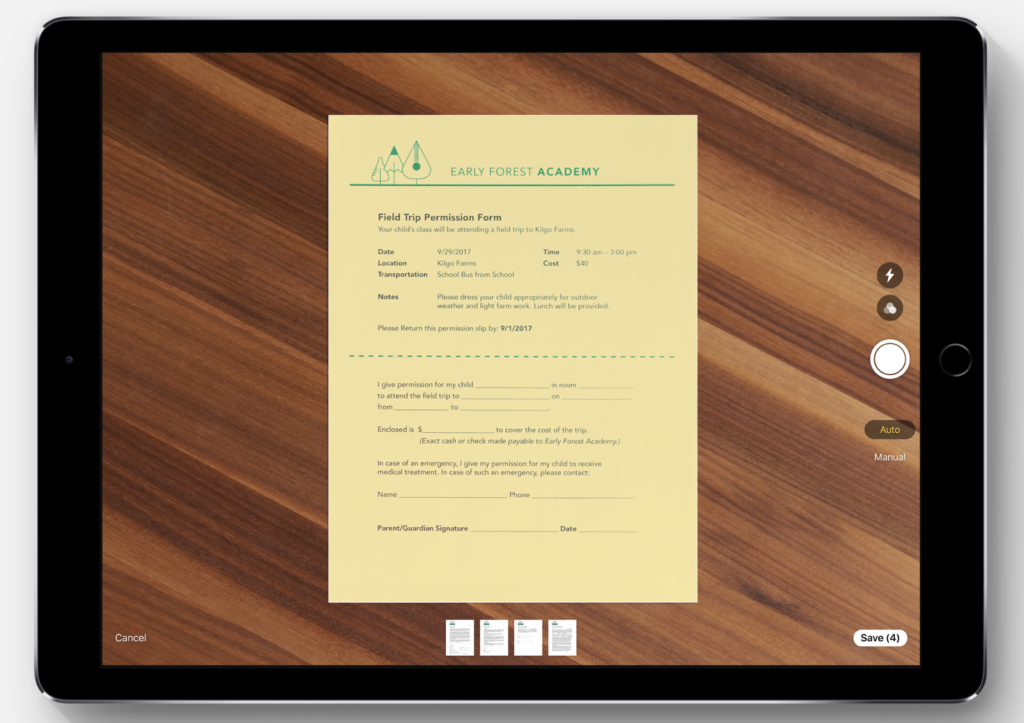
The big button: Like taking photos, the big button lets you tell the device when you want to take the scan
Flash icon: You can set the camera flash to on, off or automatic when you tap the flash icon. That’s useful if you want to get a scan in a dark place, particularly if used with black-and-white color settings.
Colour: Tap the color wheel to choose between photo mode, color scan, greyscale and black-&-white. The latter is the best way to get clear text.
Auto: When auto-shutter is on, the device will capture the scan as soon as it recognizes what it thinks might be a document in the viewfinder when scanning in Notes.
Save: You can scan multiple documents into one Note, just tap Save when you’ve completed your scans.
Think ahead
It’s a good idea to think ahead when you are creating scanned Notes by also creating a folder in which to save all your scans. Just open Notes, make sure you are in your Folders list (it says Folders at the top left) and tap New Folder at bottom right of that screen.
A dialog box appears. Here you can name the folder. “Scanned items” may do the job. Tap Save. In future, you should navigate to the Scanned Items folder before creating a new note in which scanned items will be stored.
How to find scanned items
The easiest way to find scanned items in Notes is to open a folder (All iCloud, or Scanned Items, or whatever) containing those scans and then tap the Attachments icon in the lower left corner. The Attachments screen will show you everything you have attached in Notes in Photos and Videos, Sketches, Websites and Documents. If you can’t see the item you are looking for just tap Show All beside the relevant item type. When you do you’ll be able to see images of all those items you have saved.
What about Optical Character Recognition (OCR)?
The iOS Notes app will not extract text for you. You’ll need to use a dedicated scanning app (such as Tiny Scanner Pro) for tasks of that nature. Alternatively, I always get excellent results when I take these scanned items out of Notes on my Mac and run them through OCRTools, an excellent app that’s capable of translating the text in images from 37 languages.
What can I do with my scans?
Open a scan and tap the Share sheet and you can use the Markup tool to write on/annotate scans, save scans to Files or another online storage service, and use other share sheet options you may have enabled on your device. (You can even write on scans and sign them using an Apple Pencil on an iPad Pro).
it is interesting to note that the first ever image scanning device was a drum scanner built in 1957 at the US National Bureau of Standards. Here is the first image captured by the device, a picture of the three-month old baby of the team leader on the project.


This is SO cool! Thanks!