Mojave: How to make an instant Light/Dark mode controller for your Mac
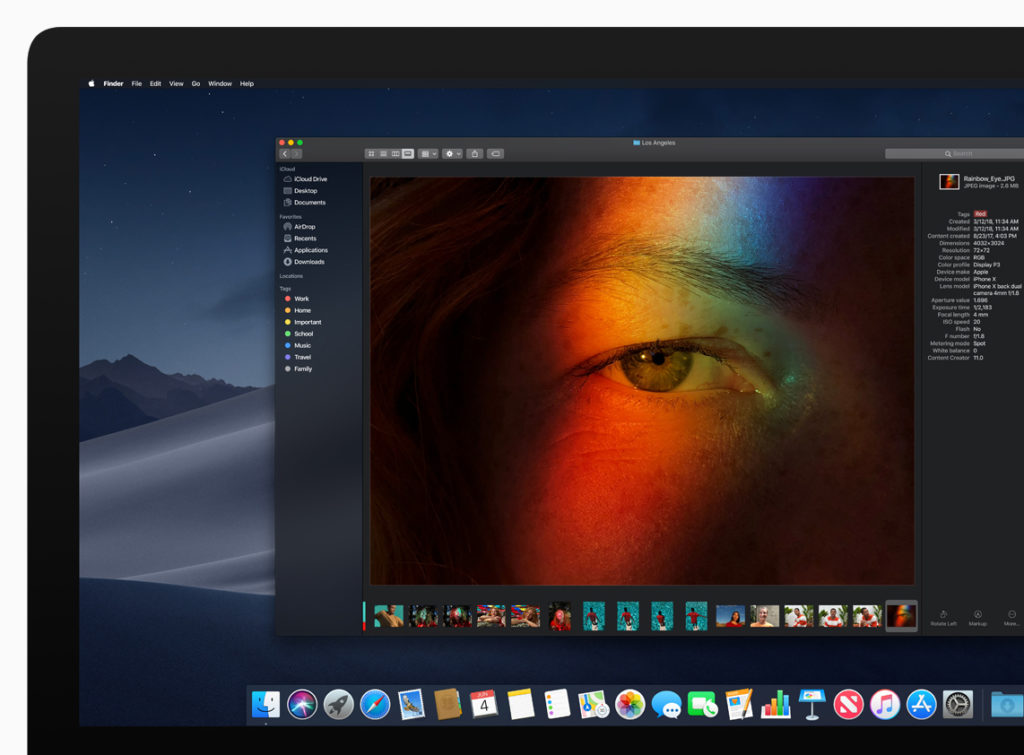
Do you use macOS 10.14 Mojave? If you do, I guess you will take a look at Dark Mode to see what it looks like on your Mac. The only snag is switching between Dark and Light Mode – that’s what we’re going to fix with this tip, which lets you do it in one click using your Dock.
How it works without the switch
Apple lets you switch between appearance modes using the Appearance controls you’ll find in System Preferences>General.
Thing is getting there means either navigating to the Apple menu with your mouse and clicking through, or tapping Command-Space and beginning to type the word “General” until Spotlight shows you the shortcut to open that section in System Preferences. Then you have to select the appropriate mode.
Either way, this takes multiple actions.
How to make an instant Dark Mode switcher for your Mac
I’m going to show you how to reduce that to two actions, thanks to Automator and a few moments work:
- Open Automator
- Choose Application as the type
- In the left hand menu select Utilities
- In the list select Change System Appearance and slide it over to the main Automator window
- Set this to Toggle Light/Dark in the drop-down.
- Head up to File and select Save. (Save this item to your Applications folder)
- Open Applications and pop your new item into your Dock
[amazon_link asins=’B01LTHXA5O’ template=’ProductCarousel’ store=’9to5ma-20′ marketplace=’US’ link_id=’0e4c986b-be72-11e8-b6ee-2526413d2452′]
In future whenever you want to switch between modes, just click the app to activate it. You may be asked to click one more time to give it permission to do this task.
And this is how to create an instant Dark Mode switcher for your Mac.
Update 28/2/19: Reader Benjamin in comments below noted that you can also save your Workflow as a Quick Action. Just select Quick Action when you are choosing what to build in Automator and then follow the steps above.
You will now be able to change between Light and Dark modes using the Services item in the application menu. Cool!
(I’ve built another one, by the way, which works in the MacBook Pro Touch Bar– but I think this one is faster and more approachable).


Or you can create it as a *Service* instead of action within Applications. So it shows up in the Services menu everywhere.
Thanks for that. I tried it and yes, it works. I shall update the copy accordingly.